
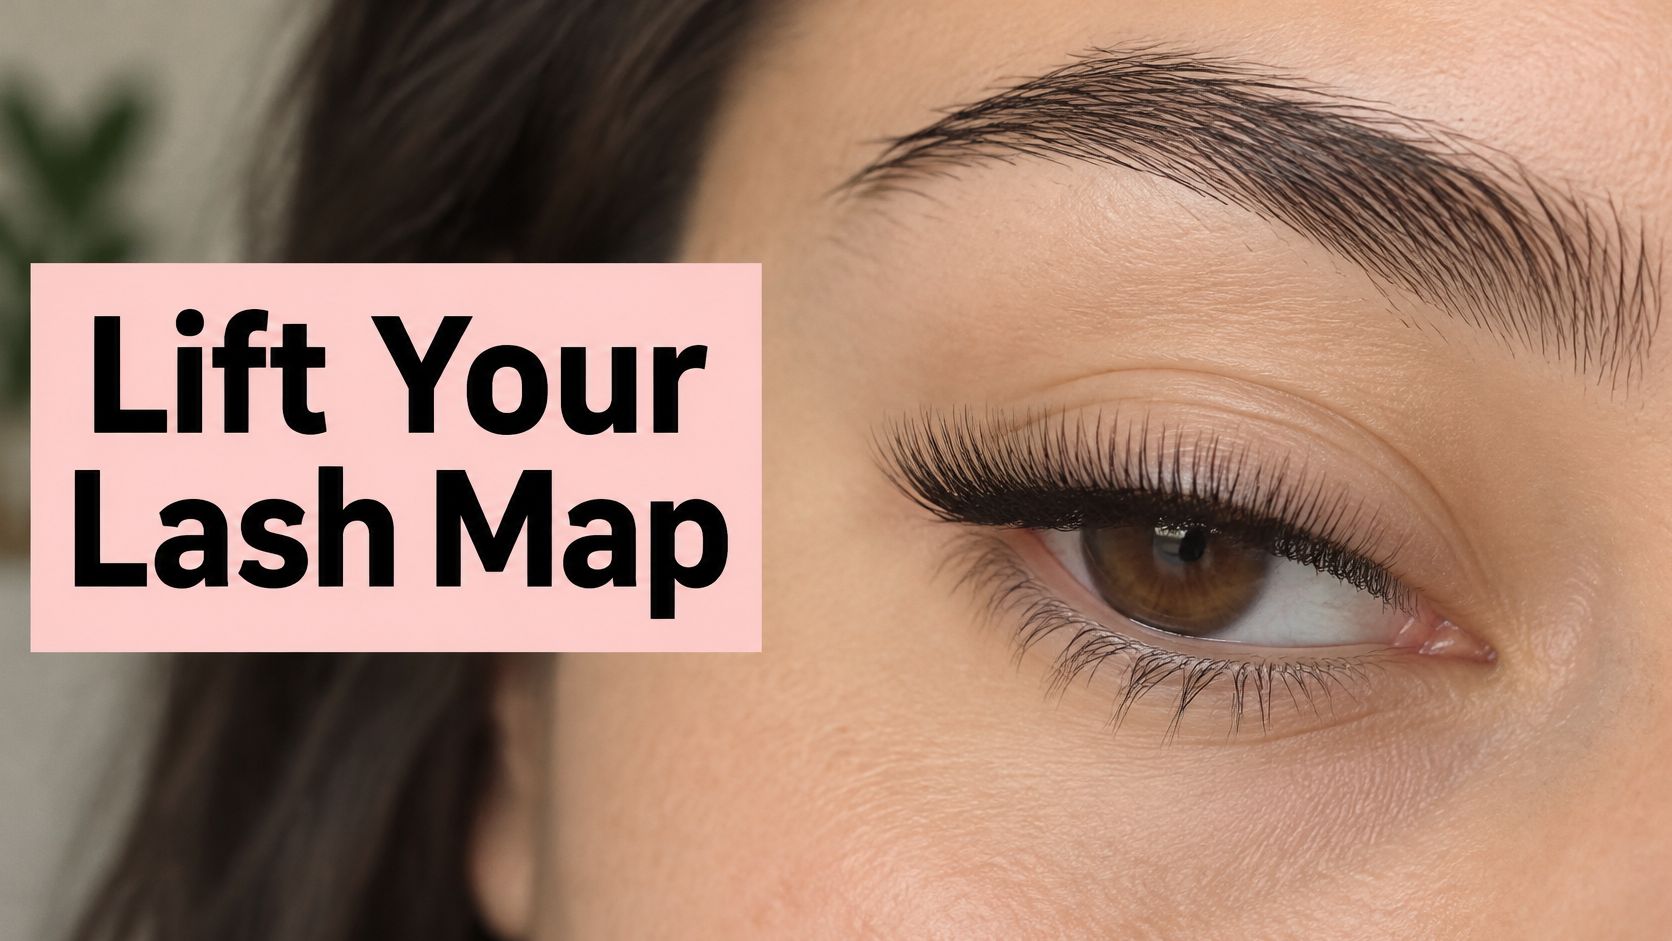
A set can look beautifully lifted when your eyes are closed, then seem heavy or uneven the moment you look straight ahead. With downturned eyes, the outer corner is often the lowest point, so adding the longest or densest lashes there can emphasise the very shape you want to soften. A better design starts with your natural lash direction and lid anatomy, then places the visual lift where it can open the eye without dragging the outer edge down.
Lash Styles That Lift Downturned Eyes
The outer corner isn't where the lift comes from. For lash extensions for downturned eyes, the visual emphasis usually belongs in the centre or slightly inward from the outer corner, while the descending outer lashes stay the same length or get shorter. That gives the eye a lifted impression without putting extra weight at its lowest point.
Use this table as a starting point, not a prescription. The ranges assume natural lashes around 8 to 10 mm long, but your technician should adjust them to your own lash length, curl, density and lid shape. Natural lashes that point down or sit beneath a hooded lid may need a different curl and lighter design than lashes that grow straight out.
Starting styles by downturn level
| Downturn level | Suggested curl | Starting lengths (mm) | Where to place emphasis |
|---|---|---|---|
| Slight downturn | C or CC | 9–11, even across the line | Even lift across the whole lash line |
| Moderate downturn | CC or D | 8–11 with a shorter outer segment | Central iris zone, slightly inward from the outer corner |
| Pronounced downturn | D or L | 7–10 with conservative outer lengths | Inner-centre, with no added outer traction |
| Hooded lid with downturn | D | 8–10, mapped from the lid crease | Centre and inner-centre, flatter outer curl |
A slight downturn may suit a soft, even map. For example, a client from Parramatta with a slight downturn might keep a C curl at 9 to 11 mm, provided those lengths suit her natural lashes and the outer edge doesn't pull the eye down. That's a different starting point from a hooded lid where the natural lashes point down. In that case, a flatter D curl can help keep the outer tips from turning into the lid, but the technician still needs to check the curl and fit with the client's actual lash and lid.
C curls tend to give a softer result, while CC or D curls can create a more noticeable lift. A stronger curl isn't automatically better: if the tips press into the lid, they may feel uncomfortable or look shorter than intended. For hooded eyes, map with the crease and the open-eye view in mind, rather than choosing a curl from a style menu alone. For more ideas about adapting a design to a hooded lid, see this guide to lash extension styles for hooded eyes.
In the chair, check the natural lash angle in an open-eye photo before choosing a row. The rule to use today: if your outer lashes naturally point down, don't ask for the longest lashes at the outer corner.
How to Map Extensions for a Downturned Eye
A comfortable map starts with observation, not a template. For a moderate downturn, a technician can start with the matching row in the style table, then refine the lengths and emphasis against your actual lash direction and lid anatomy. The Australian training assessment requirements for eyelash extensions support an assessment-first approach, including identifying relevant suitability concerns before treatment.
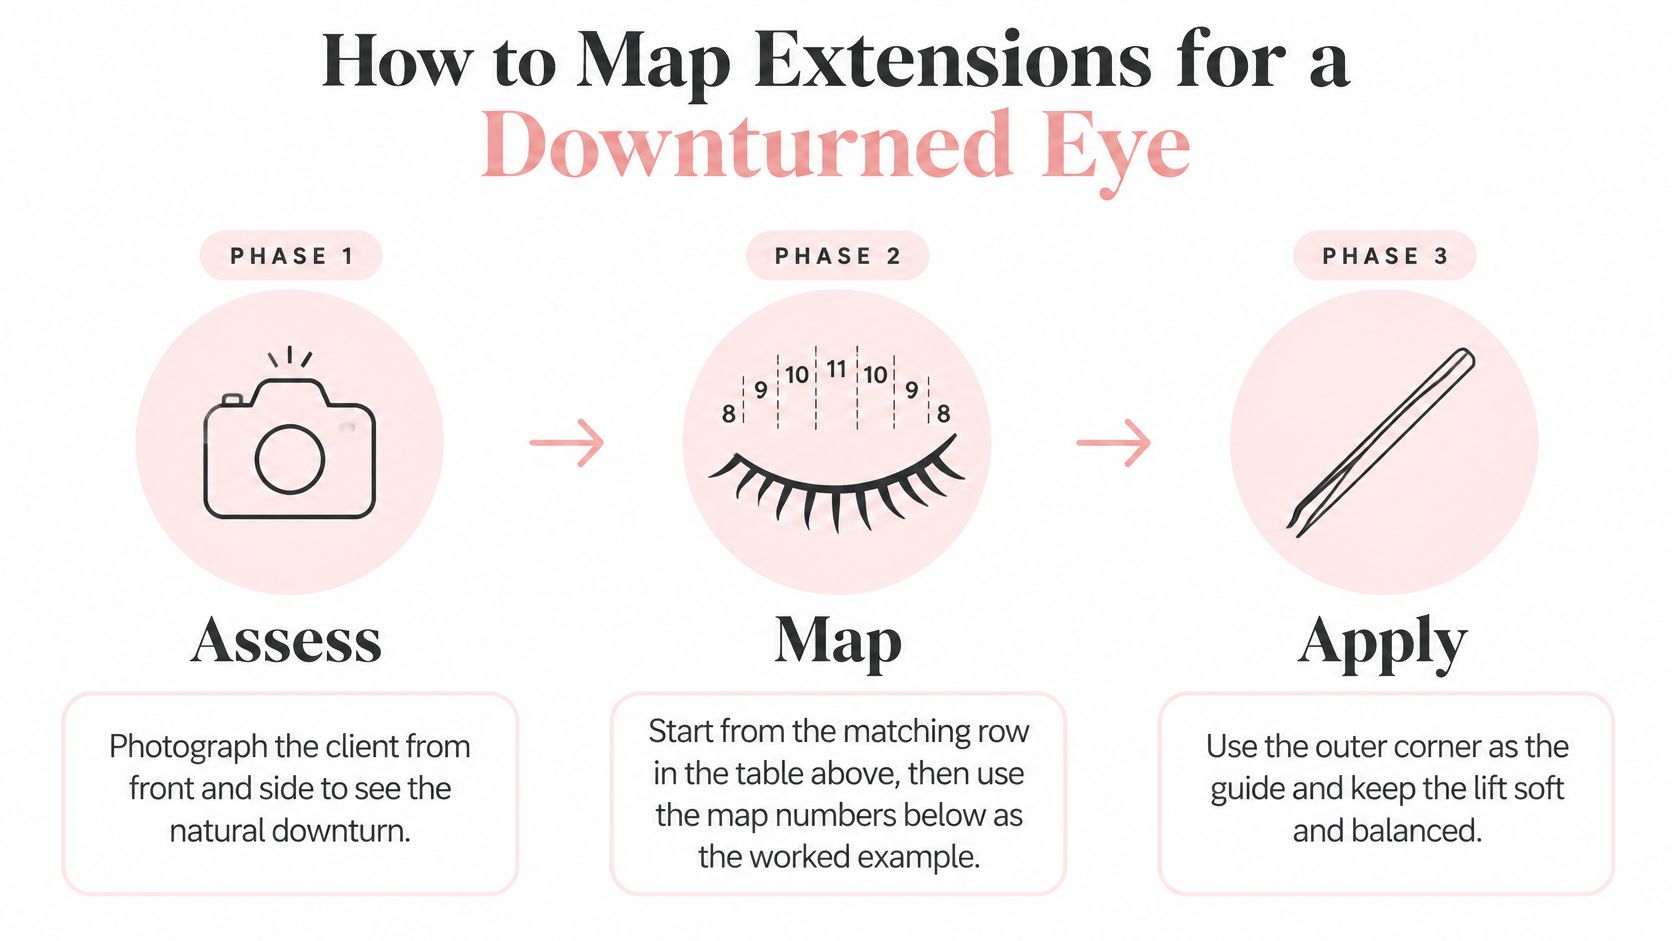
Phase 1: Assess the eye and natural lashes
Take an open-eye photo. Photograph the client with eyes open, relaxed and looking straight ahead, preferably in natural light. This shows the natural lash angle without the distortion that can come from raised brows or a tense expression.
Find the descending point. Identify the visual lowest point of the lash line and where the outer corner starts to descend. Don't judge the design from the outer corner alone; that can lead to extending the lowest area instead of lifting the eye's overall appearance.
Check lash direction and condition. Note the natural direction of growth, the strength of the existing curl, and any lashes that curve down or look damaged. A printed map can't account for a client whose outer lashes grow at a different angle from the rest of the line.
Phase 2: Set the lengths and visual peak
Use a moderate-downturn map as a worked example. Start around 7 to 8 mm at the inner corner, 8 to 10 mm mid-inner, 10 to 11 mm centrally and 9 to 10 mm towards the outer corner. These are reference lengths, not universal specifications, and need adjusting to the client's natural lash length, density, curvature and lid anatomy.
Build through the central iris zone. Increase lengths gradually so the greatest emphasis sits slightly inward from the outer corner. A common slip is adding extra length at the tips because a client asks for a dramatic cat-eye effect; on a descending outer segment, that can add downward visual weight instead.
Hold or shorten the outer lengths. Keep the extensions the same length or shorter over the part of the lash line that descends. This preserves a soft outline and avoids placing the design's heaviest point at the lowest part of the eye.
Phase 3: Check the finished shape
Compare both sides in an open-eye photo. Check the mapped design against the initial photo and confirm the visual peak and lengths look balanced from side to side. Natural asymmetry is common, so matching the map exactly isn't always the same as matching the appearance.
Test movement and comfort. Ask the client to blink and look up while you watch for lashes that brush the lid. In the mirror, a balanced map should make the eye look open, with outer tips sitting above the lower lid rather than pressing into it.
Fixes and Aftercare That Keep the Lift
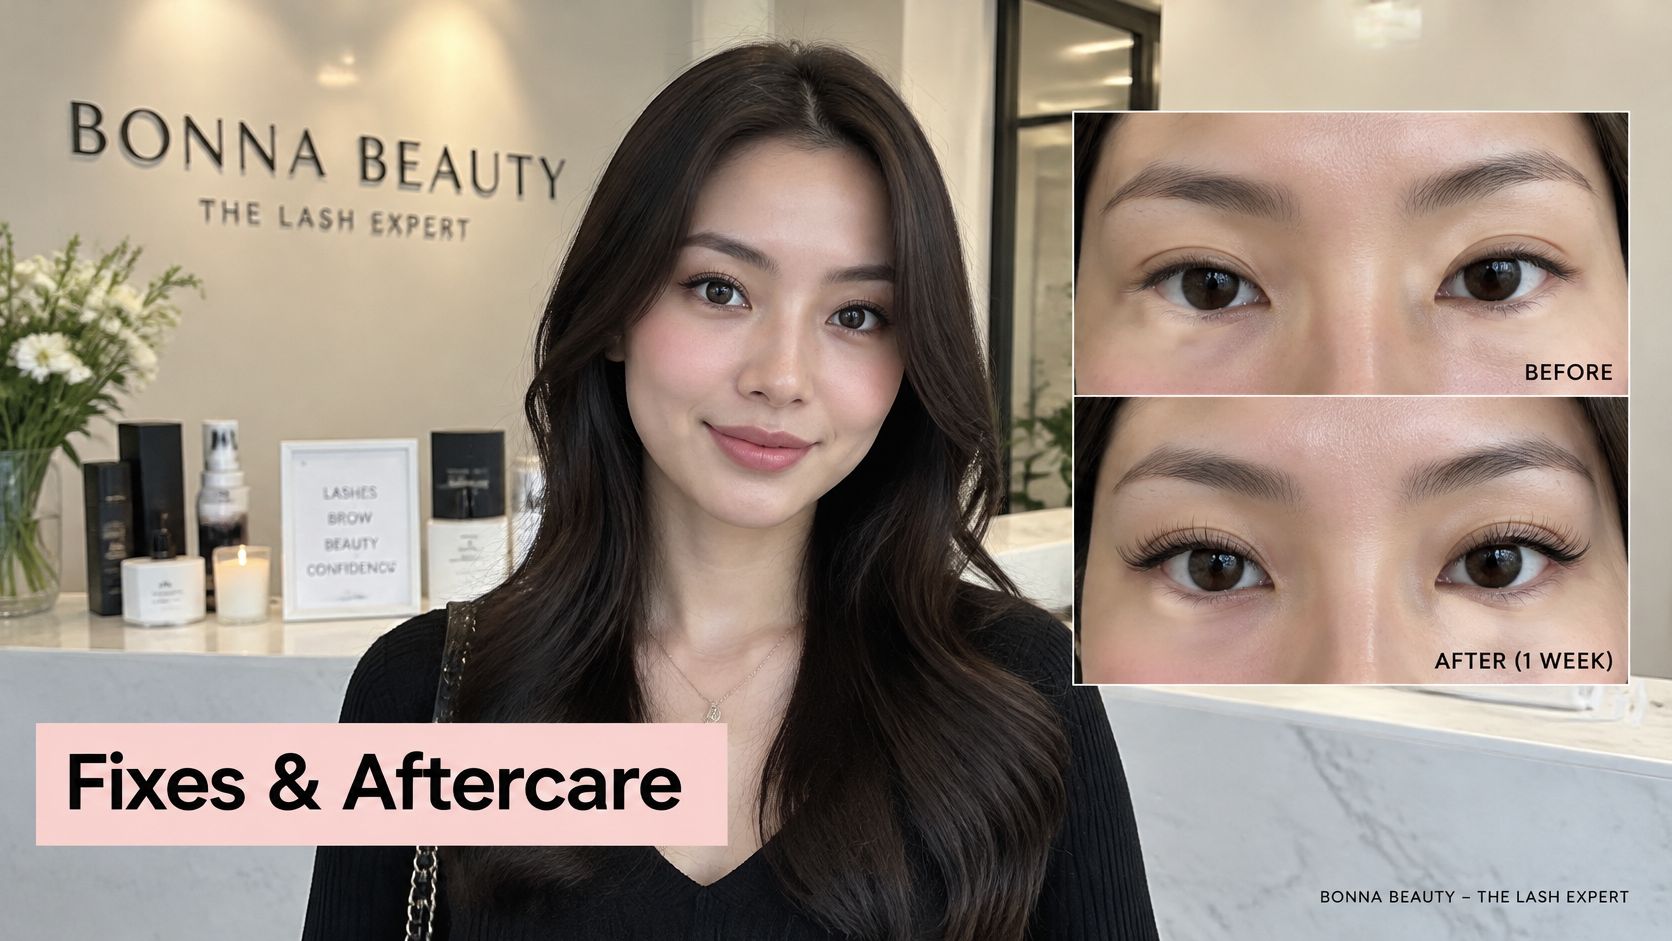
A hypothetical Revesby before-and-after tells the story: a client's outer lashes measure 12 mm, and within a week the set looks heavier in photos. If the map has its longest extensions at the outer corner, the issue may not be poor retention. The placement itself may be working against the eye shape, so the fix is to move emphasis inward and reduce the outer lengths rather than adding more lashes.
Placement mistakes, signs and fixes
| Mistake | What the eye shows | Fix |
|---|---|---|
| Longest lashes at the outer corner | Eye looks lower and heavier | Drop the outer 2–3 lashes by 1–2 mm and move length inward |
| Heavy curl on short outer lashes | Tips point down onto the lower lid | Use a flatter curl, such as C or CC, on the outer segment |
| Ignoring natural lash direction | Extensions brush the lid when eyes open | Map to the natural angle, not a template |
| Overloaded lash line | Lashes clump and drag at the base | Reduce density and keep volume central |
| Lengths too long for natural lashes | Visible pull on natural lashes and lid | Shorten the design, or consider a lash lift instead |
A hypothetical client in North Parramatta with hooded lids may see a better lift after the technician reduces the outer lengths and flattens the curl there. The useful check isn't whether the set looks dramatic with closed eyes; it's whether the open eye reads as lifted without lashes catching on the lid.
Look for three signs the map is working: the eye appears open, the outer tips sit above the lower lid, and the lashes don't clump at the base. If the natural lashes already point down and the main need is to redirect them, a lash lift may be a better starting choice than adding extension weight. A technician should screen suitability before recommending it.
Keep the outer edge comfortable between refills
Outer lashes can shed and regrow in a different direction, so don't try to correct a gap by pulling at it or applying extra mascara. Brush gently with a clean spoolie, sleep on your back where possible, avoid tugging the outer corner and choose a water-based or lash-safe cleanser. Follow the technician's product-specific aftercare advice if it differs.
At a refill every two to three weeks, have the technician compare your open-eye shape with the original map, shorten any outer lashes that have dropped and avoid adding length just to fill gaps. Track how the set wears through retention at 7 to 14 days, symmetry in open-eye photos, comfort, and whether you notice poking or early shedding. For practical upkeep instructions, use this guide to eyelash extension aftercare.
If your concerns go beyond lash styling, a resource on eye rejuvenation and facial contouring can help you understand the difference between a cosmetic lash design and treatments that address the eye area more broadly. It doesn't replace an eye-health assessment when irritation or vision symptoms are present.
Consultation Checklist Before You Book
A set can look lifted in a photo and still feel wrong on your eye. Before booking, check that the technician will consider your natural lash direction, lid shape and comfort, not just the style you bring in. Extensions that are too long or heavy for your natural lashes can pull the outer edge down or brush a hooded lid.
Eye comfort comes first. The Optometry Association of Australia's summary of extension-related complications describes a study of 107 women attending ophthalmology clinics in Japan with extension-related complaints. Among them, 42 patients developed keratoconjunctivitis or allergic blepharitis linked to formaldehyde-containing adhesive. The source also reports conjunctival erosion associated with eyelid-fixing tape and subconjunctival haemorrhage during removal. These findings are not an Australian prevalence study, but they reinforce the need to put eye health ahead of a particular look.
Bring this checklist to your appointment
Tell your technician about anything that could affect the service:
- Eye conditions: dry eye, blepharitis, infection or active irritation.
- Recent procedures: eye surgery or ongoing recovery advice.
- Contact lenses and medications: mention lens use and medicines relevant to the eye area.
- Previous reactions: reactions to lash adhesive, tape, latex or other products used around the eyes.
- Natural-lash concerns: curly or damaged lashes, hair loss, or extensions that previously poked, shed early or felt uncomfortable.
Ask which formal training the technician has completed, what the adhesive contains, how reusable tools are cleaned or sterilised, and whether single-use products are used where appropriate. A claimed speciality alone doesn't show what qualifications the technician holds. Also ask how the proposed curl and lengths will sit with your natural lash direction and lid. A map should lift the eye without adding weight that strains the lashes or causes extensions to touch the lid.
A patch test may identify some sensitivities, but it cannot predict every reaction around the eye. “Hypoallergenic” on a label does not rule out irritation or allergy. If something raises concern, discuss postponing the service rather than relying on a product label.
Choose safety over the set: postpone treatment and seek medical advice if you have active irritation. Consider a lash lift only after a suitability check, and stop wearing contact lenses during treatment if your technician advises it.
Persistent redness, pain, light sensitivity, discharge or any change in vision needs prompt medical attention. Don't wait for a refill appointment to see if those symptoms settle.
Book a Mapping Consultation Across Sydney
At a mapping consultation, the technician should check your natural lash direction and how your lid sits with your eyes open. Those details shape both the lift and the fit: a map that places too much length or weight at the outer corner can pull a downturned eye lower, while extensions that brush a hooded lid may feel uncomfortable. Bring open-eye photos and the safety checklist you completed, so the discussion can focus on a design that suits your eyes.
Bonna Beauty operates in Bankstown (Yagoona), Roselands, Canterbury, Revesby and North Parramatta. When comparing studios, ask to view the lash area and check that it looks clean and hygienic. The NSW Government's consumer guidance for beauty and cosmetic services advises customers to check hygiene and notes that some beauty premises may need registration with the relevant local council. It also states that businesses must provide a receipt for services valued at $75 or more. Below that amount, you can request one, and it must be provided within seven days.
Ask how the studio meets the local requirements that apply to each service you're booking. Rules can differ between lash extensions and services such as cosmetic tattooing, so the studio should be able to explain how it handles the procedures and tools for your chosen treatment.
Before booking, ask the technician to record the map, including the curl and where the lengths peak. This gives you a reference for refills and helps keep the design consistent as your natural lashes grow out. For practical local information about eyelash extensions in Sydney, review the service details before choosing an appointment.
Book a consultation if extensions suit your lash direction and lid. If your lashes need redirecting first, ask whether a lash lift is a better starting point. You can book with Bonna Beauty and request a consultation focused on comfort, outer-corner weight and an open-eye result.