
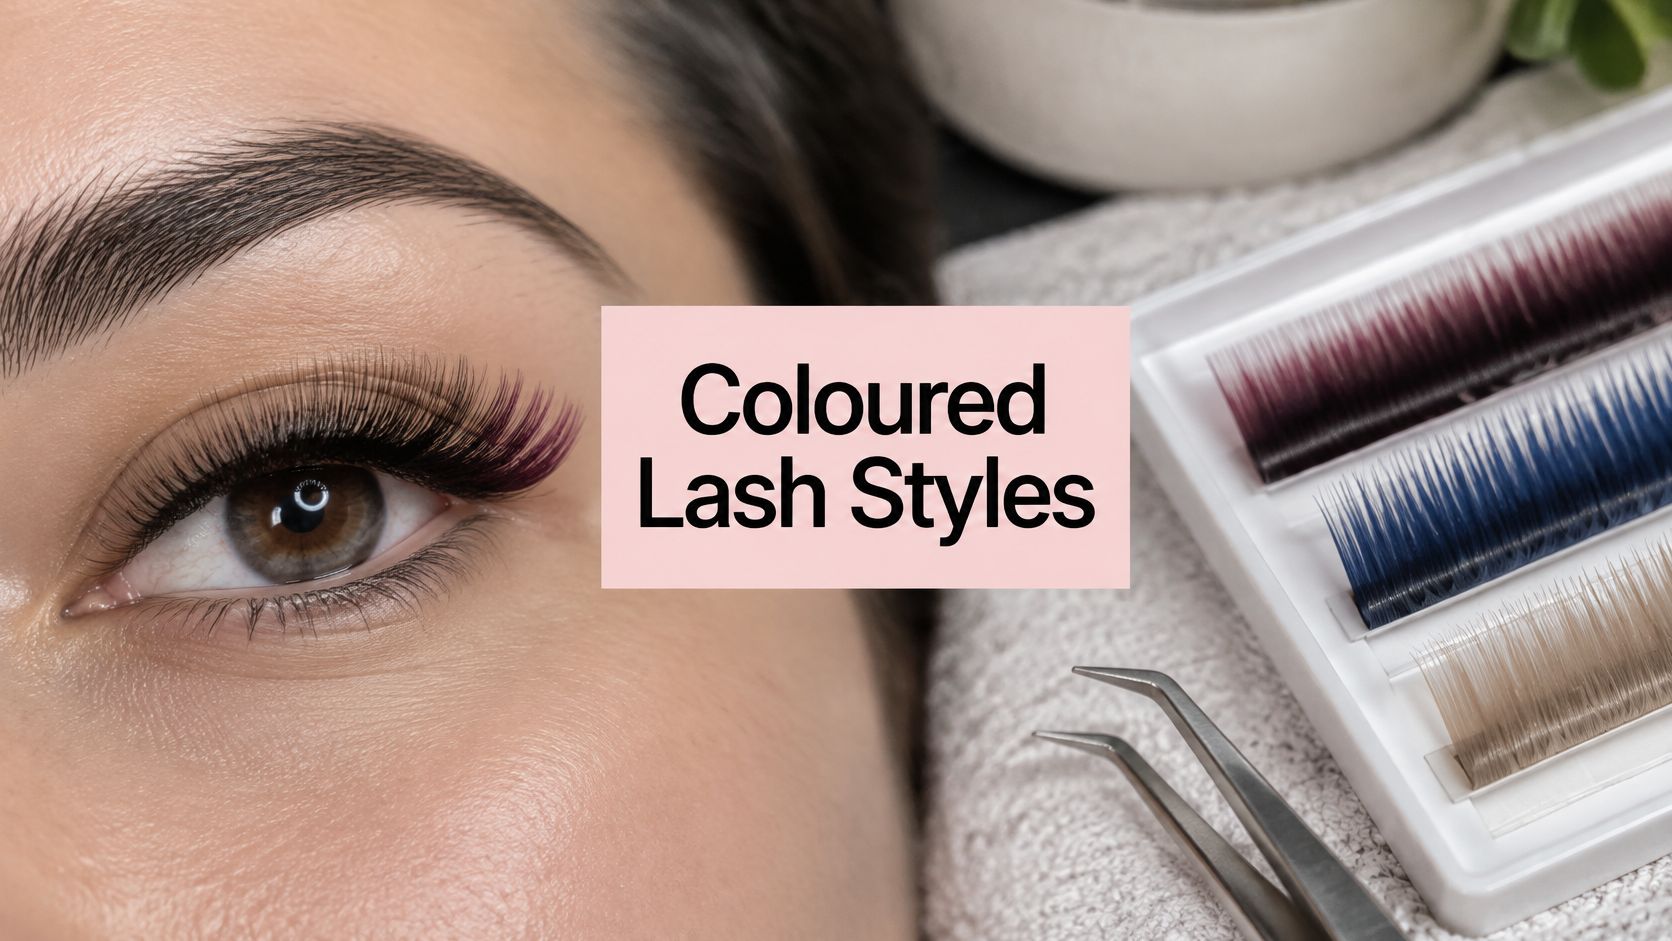
You've saved a photo of blue-tipped lashes, but you're trying to picture them on the train to work, under office lighting and at Sunday lunch. The photo looks beautiful. What's harder to judge is whether the colour will suit your eyes, stay balanced as lashes shed and feel comfortable through an ordinary Sydney week.
Coloured lash extensions work best when colour follows the lash map, not the other way around. Start with the placement you'll wear, then choose the contrast. For a first appointment, I'd favour a small accent over a full bright set, with just as much attention paid to adhesive, isolation and upkeep as to the shade.
Shade Map and How Colour Sits on a Mapped Set
Coloured lash extensions are ultra-fine synthetic fibres that are dyed or pigmented and bonded to natural lashes. The application still needs the same careful isolation as a black set. Classic lash extensions use one extension on one natural lash; volume fans, wispy spikes and anime flares also need an isolated natural lash, rather than being glued to eyelid skin.
Treat colour as a layer on the design. Length, curl, direction and weight establish the shape; the coloured fibres decide which parts catch your attention. A bright shade won't rescue a map that's too heavy at the outer corner.
Curl changes visibility, too. A C or D curl can bring coloured tips into view, while a flatter curl may leave them hidden beneath a hooded lid. More curl isn't automatically better: the technician still needs a suitable attachment area and a result that doesn't press towards the lid.
Choose the amount of colour before the shade
A social-media reference is useful for explaining your taste, but it isn't a promise of the same result. Lighting, editing, natural lash density and the angle of the photograph all affect what you see.
That distinction matters in a visually driven beauty market. Retailbiz's Australian beauty-market coverage reports that 47% of beauty buyers were more likely to purchase after a creator recommendation. Bring the inspiration, but let your open-eye assessment decide the map.
Coloured lash looks by shade and placement
| Look | Shade | Placement | Suits | Refill note |
|---|---|---|---|---|
| Office brown | Mocha, taupe or soft brown | Full classic or hybrid set | Daily work, fair to deep skin, softer than black | Colour thins evenly; plan a refill about 2–3 weeks |
| Inner spark | Blue, lilac or champagne | For example, 4–8 suitable inner-corner lashes | Round-eye brunch looks; assess close-set eyes carefully | Inner lashes can lose their visible spark early |
| Outer wing | Burgundy, plum or emerald | Outer third only | Hooded or almond eyes, evenings | Outer colour can stay noticeable longer |
| Tip ombre | Black base with coloured tips | Tips across the set | First colour try, mixed hair tones | Tips leave with their attached natural lashes |
| Full statement | Bright blue, pink, green or red | Whole set on wispy or anime fans | Events, not a first office set | Gaps show readily; plan an earlier appearance check |
These are design starting points, not guarantees about which part of your lash line will shed first. Individual lash cycles and attachment quality affect how each look wears.
Office brown is the easiest option when you want softer definition without an obvious colour statement. Match its depth to your brows rather than choosing the palest tray: a very light brown can disappear against darker features.
An inner spark is more selective. Keep the fibres light and suited to the smaller natural lashes there. Although it can make a playful brunch look, a bright inner accent can draw close-set eyes inward, so an outer placement is often the better choice.
Make the accent survive ordinary wear
An outer wing gives colour a defined home within the map. Don't extend it onto weak outermost lashes just to make the wing longer. A slightly shorter, lifted accent often looks more intentional than a long tail that turns down.
Tip ombre is my preferred low-commitment visual trial, not a medically safer product category. The dark base preserves definition while the tips reveal colour as you blink. Full statement sets offer stronger impact, but missing fans interrupt a bright pattern more visibly.
Chair-side rule: Choose the look you'd still like with less density, not only the freshly finished photograph.
Ask for the fibre colour and adhesive, not just a style nickname. The Australian cosmetics ingredient-labelling standard requires ingredient disclosure and allows colour additives to be listed after other ingredients, including certain “may contain” declarations. A useful treatment record includes the fibre brand, shade and batch, adhesive batch, date and technician.
Circle one row as your starting point. For a first colour appointment, that should usually mean a controlled accent rather than every available shade.
Colour Placement for Eye Shape and Plans
Placement changes the balance of the eye more than a fashionable shade name does. Almond eyes can often carry an outer accent comfortably, while round eyes usually look more elongated when the brightest fibres stay towards the outside rather than surrounding the whole lid.
The assessment needs to happen with your eyes open. Hooded lids can hide a low strip of colour completely; monolid eyes may show the shade better through the mid-lengths of an open fan. Neither is a reason to add excessive length.
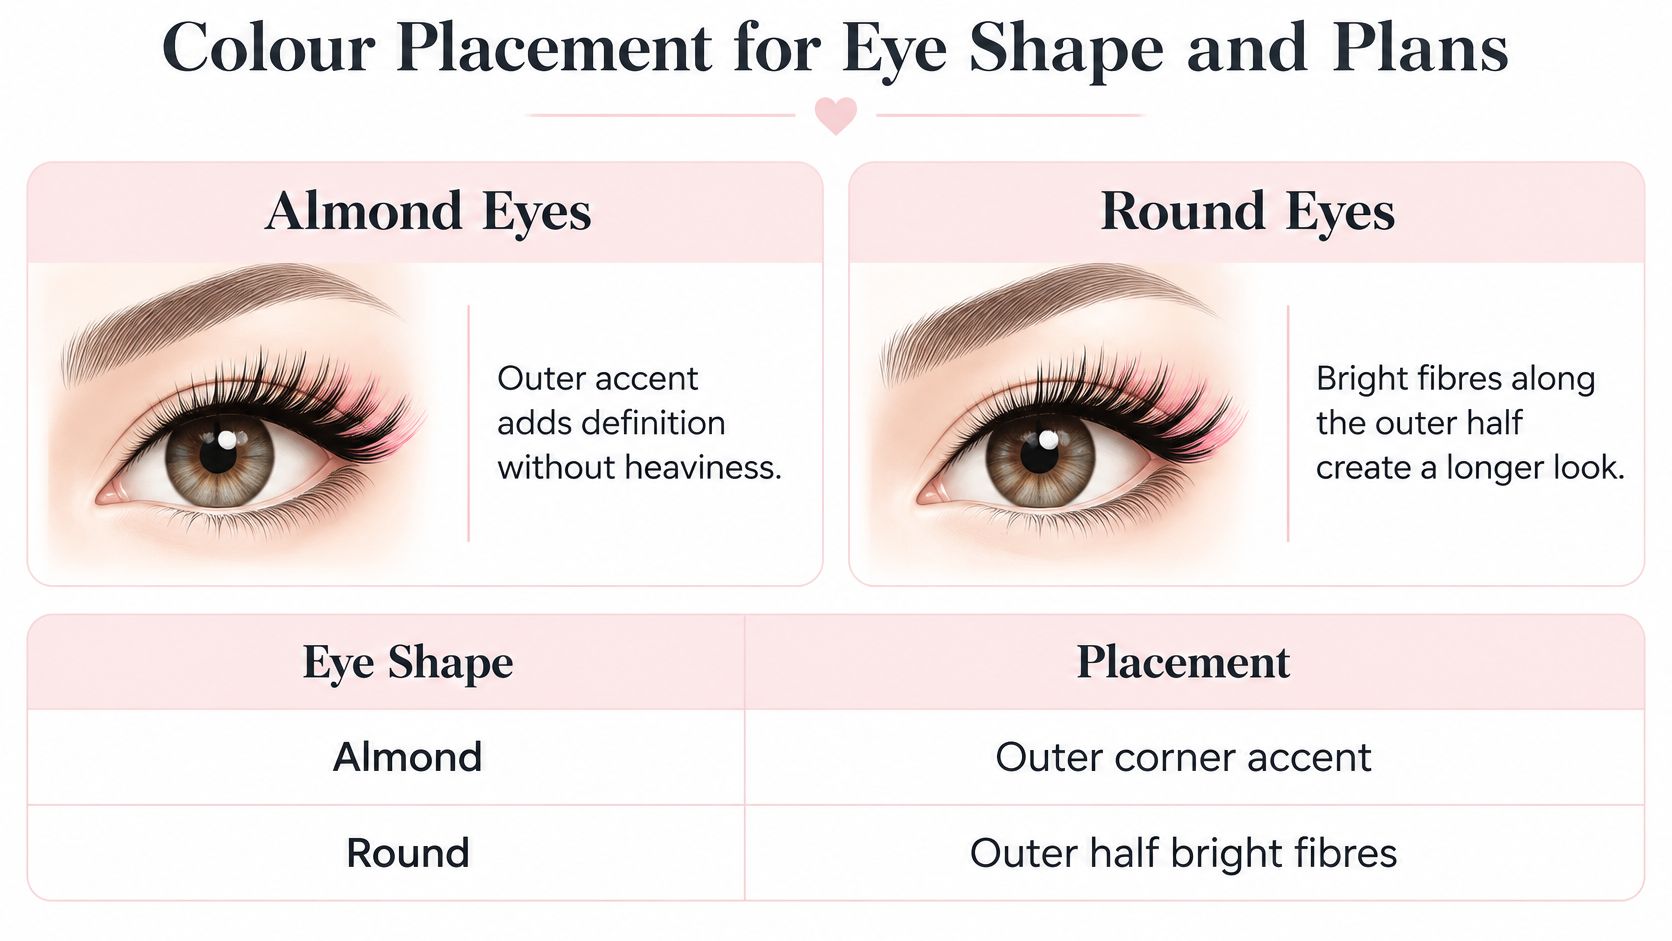
Where to place colour by eye shape
| Eye shape | Place the colour | Avoid |
|---|---|---|
| Almond | Outer third | Colour on every lash if the goal is subtle |
| Round | Outer corner only | A bright ring around the whole lid |
| Hooded | Lifted tips visible when the eye is open | Colour parked low on the lash line |
| Monolid | Mid-lengths of an open fan | Very short fibres that hide the shade |
| Close-set | Outer corners | Inner-corner brights |
| Wide-set | Small inner-corner accent | Extra colour only at the far outer edge |
| Downturned | Upward outer corner | Heavy colour that drops the outer tail |
| Upturned | Even soft brown | A drooping outer colour |
Use this as a consultation guide, not a diagnosis of your eye shape. You might have almond eyes with a hooded lid, or a round eye with a downturned outer corner. The technician should prioritise the feature that most affects the finished direction.
For downturned eyes, lifting the visual endpoint matters more than stretching it sideways. Our guide to lash extensions for downturned eyes explains why an extended outer tail isn't always the most flattering choice.
Match the map to the diary
For a Bankstown office day, choose a restrained map that reads as definition at conversational distance. Check your workplace expectations before selecting an obvious accent, especially if you wear minimal eye makeup.
For a school or university week, consider how often you want to think about your lashes. A full bright set can require more attention to its appearance as gaps develop. A wedding guest look has a different brief: an outer plum accent can complement the makeup without competing with it.
For a night out near Canterbury, a stronger wing can make sense, provided the outer natural lashes can support the design. Your event makeup artist should know about the extensions so liner and shadow don't obscure the colour you've chosen.
If you can't picture the design after half the lashes have shed, start with an accent.
Hair and brows provide the frame. A high-contrast colour beside deep brows looks different from the same fibre beside fair brows, so compare the tray against your features rather than against a phone screen alone.
Irritation Checks Before Any Colour
Shade alone isn't the main comfort question. Adhesive exposure, tape placement, loose fibre fragments, extension weight and removal technique all deserve attention. Coloured fibres can introduce different materials, but switching from blue to black doesn't remove the risks of the bonding system.
The Australian Industrial Chemicals Evaluation Statement on cyanoacrylates identifies chemicals used in cosmetic eyelash glues as skin sensitisers that can cause eye irritation, and notes reported allergic contact dermatitis. Common ethyl-cyanoacrylate adhesive systems therefore need careful handling regardless of the fibre colour.
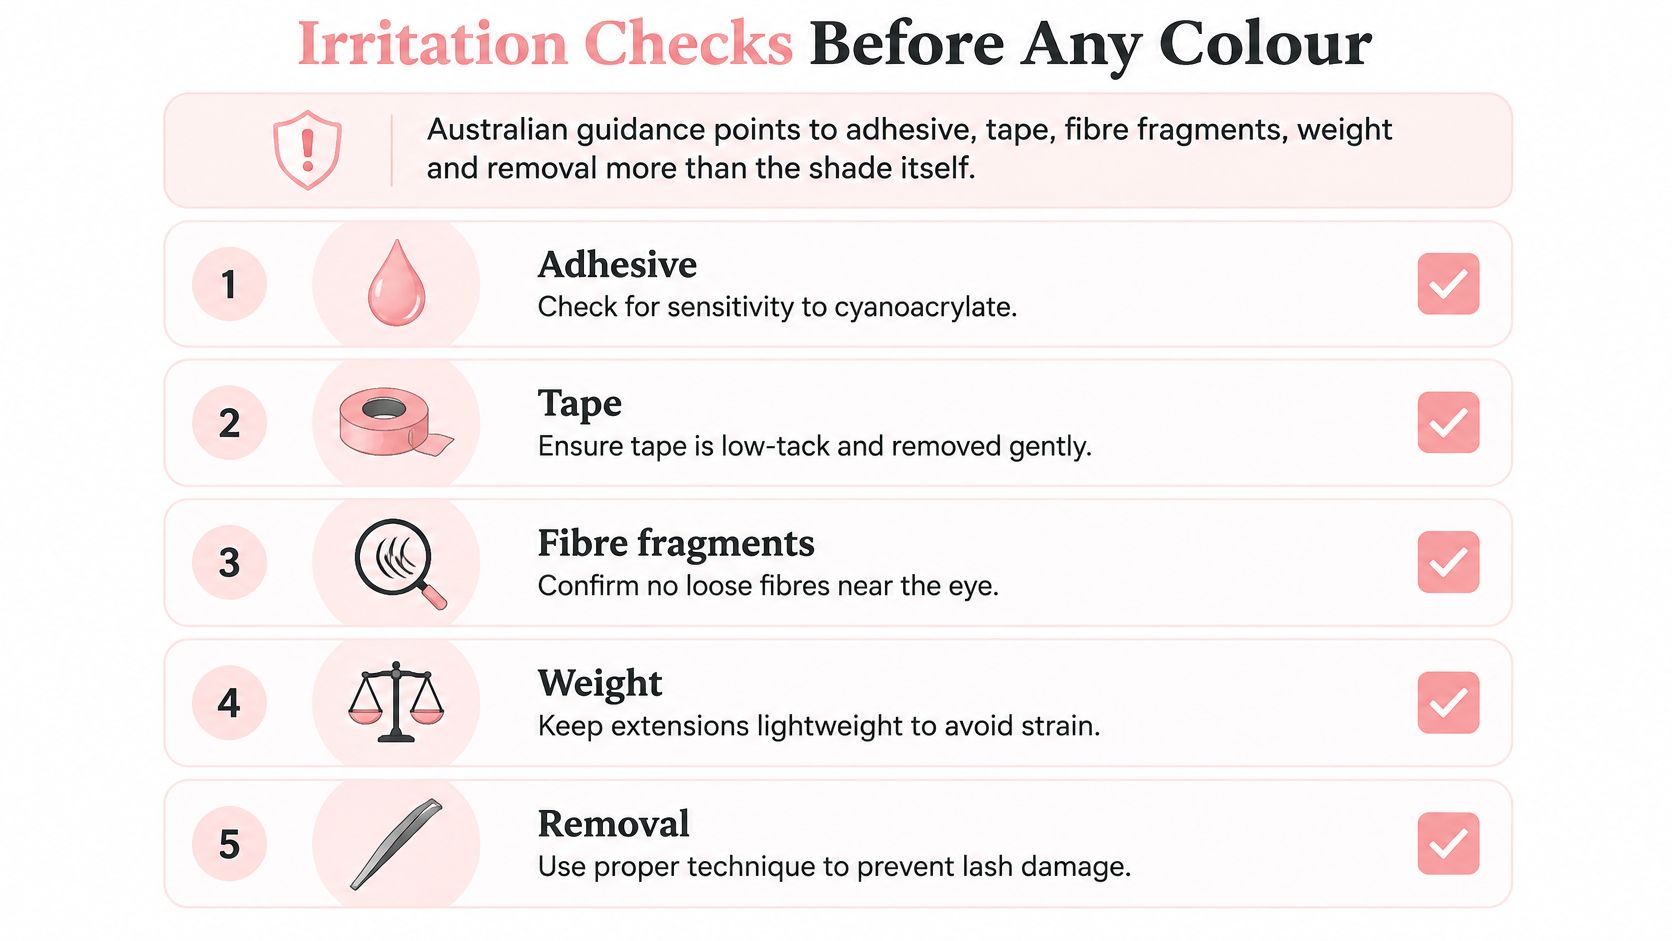
Disclose reactions before choosing a design
Tell the technician what happened during any previous reaction, including when symptoms started and which products were used. Hypoallergenic doesn't mean reaction-proof, and a latex-free adhesive can still contain other ingredients capable of causing a reaction. Our explanation of latex-free lash glue helps distinguish those questions.
- Previous sensitivities: Disclose reactions to latex, adhesive, preparation products, remover, tape resin and dye.
- Eye conditions: Mention blepharitis, dry eye, current infection, recent irritation or unexplained watering before treatment proceeds.
- Health and lash changes: Disclose alopecia areata, trichotillomania, chemotherapy or radiation so suitability and any medical review can be addressed before booking.
We don't apply extensions to clients with the listed ingredient allergies, alopecia areata or trichotillomania, or to clients undergoing chemotherapy or radiation. These disclosures aren't something to work around by selecting a different colour.
A skin patch test may identify some delayed skin reactions, but it can't guarantee eye safety or rule out a future allergy. Don't interpret a clear skin result as permission to ignore symptoms during application.
Comfort remains a stop-or-go decision
Before an extension appointment, remove all eye makeup, contact lenses and false eyelashes. During application, isolation must keep adhesive away from the eyelid margin and ocular surface, with controlled glue quantity and appropriate ventilation.
Tell the technician immediately about burning, persistent redness, swelling or watering. Brief awareness of pads or tape isn't the same as ongoing irritation, and you shouldn't be asked to tolerate discomfort to finish a set.
Pain, light sensitivity, a shadow in your vision or another vision change needs prompt medical assessment. Don't cover symptoms with makeup or attempt to solve them by adding more product.
Consent check before application
- Product noted: The extension and adhesive are identifiable.
- Risks explained: You understand reaction, irritation and removal considerations.
- Permission to pause: You can stop the service at any point.
Aftercare That Keeps Colour Even
A coloured set looks balanced when the remaining fibres stay clean, separated and pointing in their intended direction. Trying to preserve it by avoiding cleansing isn't the answer. Build a routine that protects the attachment without leaving residue along the lash line.
Follow the routine in order
Respect the adhesive-specific dry window. Follow the timing given by your technician rather than a generic social-media rule. Skip steam and saunas during that period, and avoid face-down sleeping on the first night so your pillow doesn't press the fresh design out of shape.
Leave the fibres alone. Don't rub, pick or twist an accent back into position. If something feels sharp or catches repeatedly, arrange a check rather than pulling at it.
Cleanse once permitted. Use a cleanser suitable for extensions, working gently along the lash line and rinsing as directed. Keep oily skincare away from the attachment area, but don't assume every adhesive behaves identically or that stronger cleansing will improve retention.
Brush only when dry. Use a clean spoolie with a light hand. Support the shape rather than dragging through a snag, and avoid brushing so aggressively that you tug the natural lashes.
Skip mascara on extensions. It can coat the shade, bind fibres together and make cleaning more difficult. If you need more definition, discuss the map at your refill instead of repeatedly covering coloured tips.
Book according to appearance and lash condition. An accent may need attention before the rest of the set looks sparse. Extensions may last as long as the natural growth cycle, or about six weeks for baby lashes if well cared for, but that isn't a promise of a full-looking coloured design throughout.
Leave removal to the technician. We require extensions to be removed by the lash technician, not by the client. Don't use tweezers, household oils or repeated rubbing to force them off.
Plan for a gym-and-beach week
A summer week of gym sessions and beach visits calls for careful rinsing and cleansing after sweat, salt and sunscreen exposure. It doesn't automatically mean you need a brighter or denser set. Choose an accent you're comfortable maintaining, and allow room for an earlier assessment if it starts looking uneven.
Keep the colour clean and the handling gentle. More brushing isn't better maintenance.
Don't treat pain, swelling or vision change as ordinary aftercare problems. Stop applying products and seek appropriate medical advice.
Before leaving the appointment, put the next maintenance date in your calendar. That decision is easier while the technician can assess your natural lashes and the amount of colour placed.
When a Lash Lift Beats Added Colour
A lash lift and coloured extensions solve different problems. A lift reshapes your own lashes; a tint deepens their appearance. Extensions add fibres, allowing extra length, density and a chosen shade where your natural lashes alone can't deliver the design.
If your lashes already have useful length and you mainly want them to show above the lid, a lift can be the simpler choice. There are no added coloured fibres to maintain, and a basic lifted look doesn't require makeup.
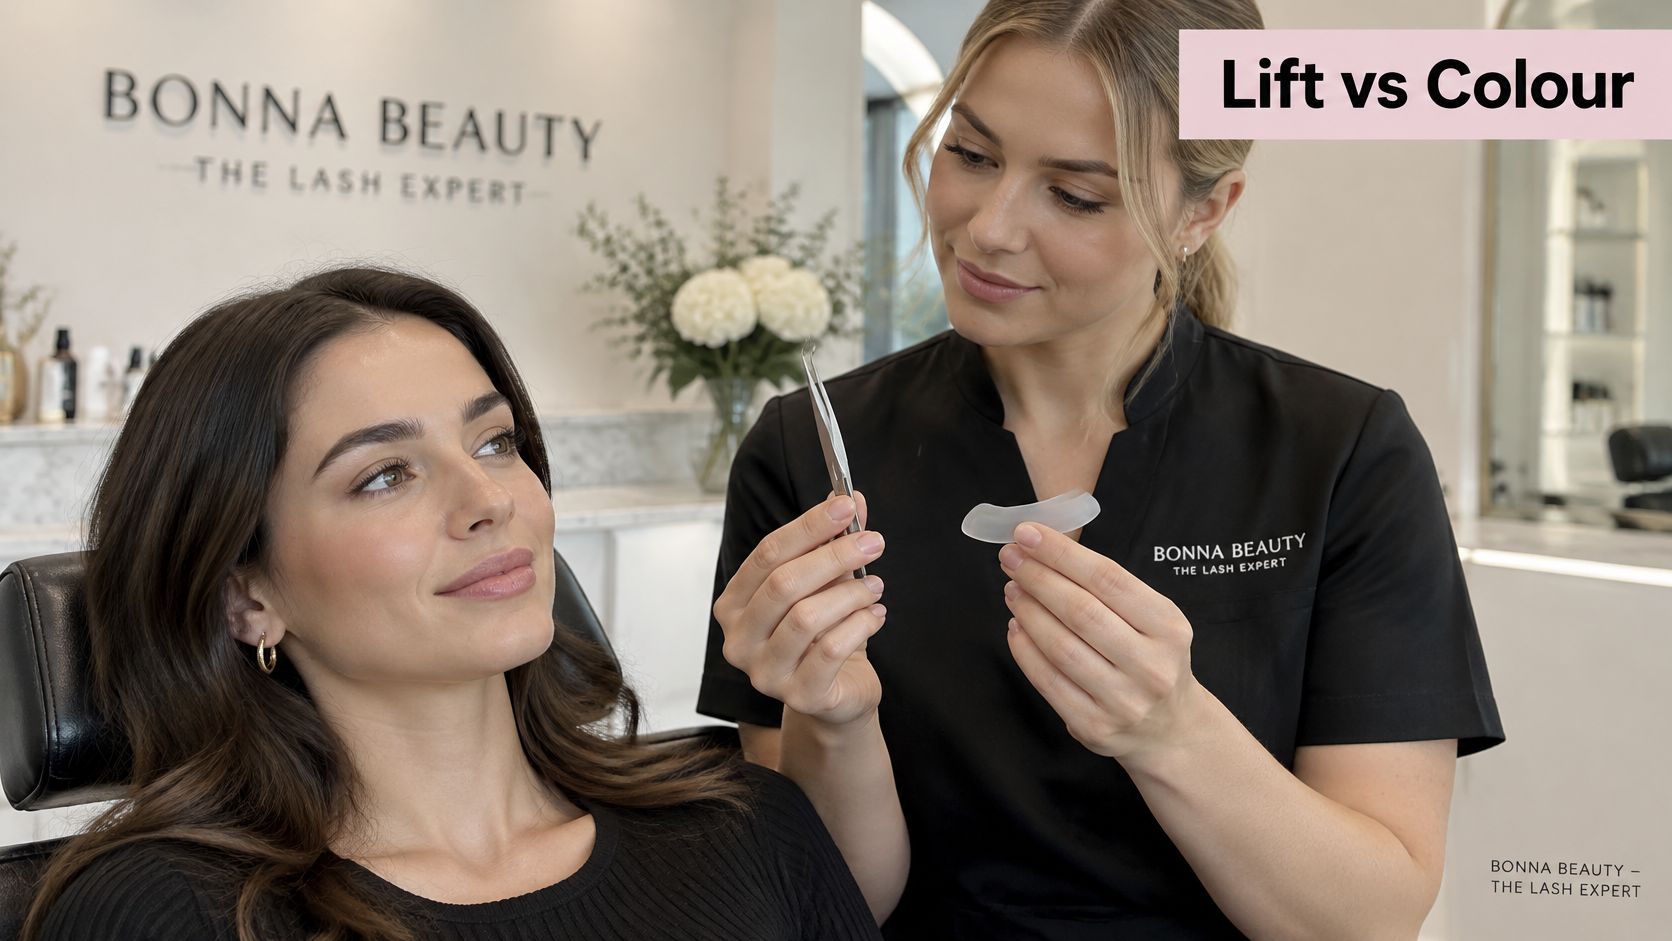
Choose by the result you need
| Your main goal | Better starting point | Trade-off |
|---|---|---|
| Show your existing lashes with less daily styling | Lash lift and tint | Doesn't add fibres or fill sparse areas |
| Add a visible fashion shade | Coloured extensions | Requires attachment care and maintenance |
| Create extra length or a defined event accent | A suitable extension map | Natural lash strength limits the design |
| Keep a straightforward workday look | Lift or restrained extensions | Choose upkeep you can realistically manage |
A tint won't reproduce a blue, burgundy or emerald extension accent. It darkens the natural lash rather than building a coloured fan. Equally, short or sparse lashes aren't permission to attach heavy extensions: suitability comes before the desired effect.
Our comparison of lash lifts and extensions can help you choose between enhancing existing lashes and adding a mapped set.
Keep treatment timing sensible
I wouldn't combine a fresh lift and a full coloured extension set in the same visit. The lift changes the natural curl that the attachment and map rely on, so plan separate appointments and reassess suitability before adding fibres.
After a lash lift, avoid waterproof mascara and harsh lash products, and don't have other facial beauty treatments for 24 hours. North Parramatta clients seeking a low-maintenance curl can start with their own lashes, then consider a small colour accent at a later extension appointment.
Choose a lift for your own lashes. Choose coloured extensions when you need a shade or structure your natural lashes can't provide.
Book a Colour Trial in Sydney
Book the placement you want to test, not a vague request for colourful lashes. Name your eye shape, your usual workwear and the occasion. An outer accent for a wedding and a subtle office set require different decisions, even if both reference the same photograph.
Start with a trial accent and confirm its total price before application. Our full sets in Natural Classic, Hybrid, Volume, Wispy or Anime start from $90, and a lash lift starts from $70. Those starting prices aren't a quote for a colour add-on or a guarantee that every design costs the same.
Starting prices for a first colour visit
| Service | Starting price | Best for |
|---|---|---|
| Full set of Natural Classic, Hybrid, Volume, Wispy or Anime | From $90 | Full coloured set after a trial |
| Lash lift and tint | Lift from $70; confirm tint inclusion | Own-lash curl and tint |
| Accent trial, inner or outer row | Confirm accent and base-set total at booking | Testing placement before committing |
Choose the studio around your week
Night appointments for lash extensions are offered in Bankstown, Parramatta and Canterbury. Day studio options include Yagoona in Bankstown, Roselands near Canterbury, Revesby and North Parramatta, with quiet home-style settings, online booking and SMS reminders.
For a Parramatta workday, the Parramatta lash lift and extension guide can help narrow the appointment type. If you're considering brow lamination as well, add it only when the brow direction needs a more organised frame, not just because you're already in the chair.
- Bring a clear reference: Show the placement you like, alongside an unfiltered view of your usual makeup.
- State the practical limit: Mention workplace expectations, event timing and how much upkeep you'll manage.
- Choose the learning route separately: Prospective artists can explore Bonna Beauty Academy training resources or the Sydney professional lash lift and tint course.
Book the accent row you've chosen, with enough time to assess the result before an important event. Leave with the maintenance date written down, not just a photo of the fresh set.
Bonna Beauty offers mapped eyelash extensions, lash lifts and tinting across its Sydney studios, with colour choices shaped around your eyes and everyday plans. Visit Bonna Beauty to book a colour consultation, request a small trial accent and confirm your service price and refill plan before committing to a full coloured set.