
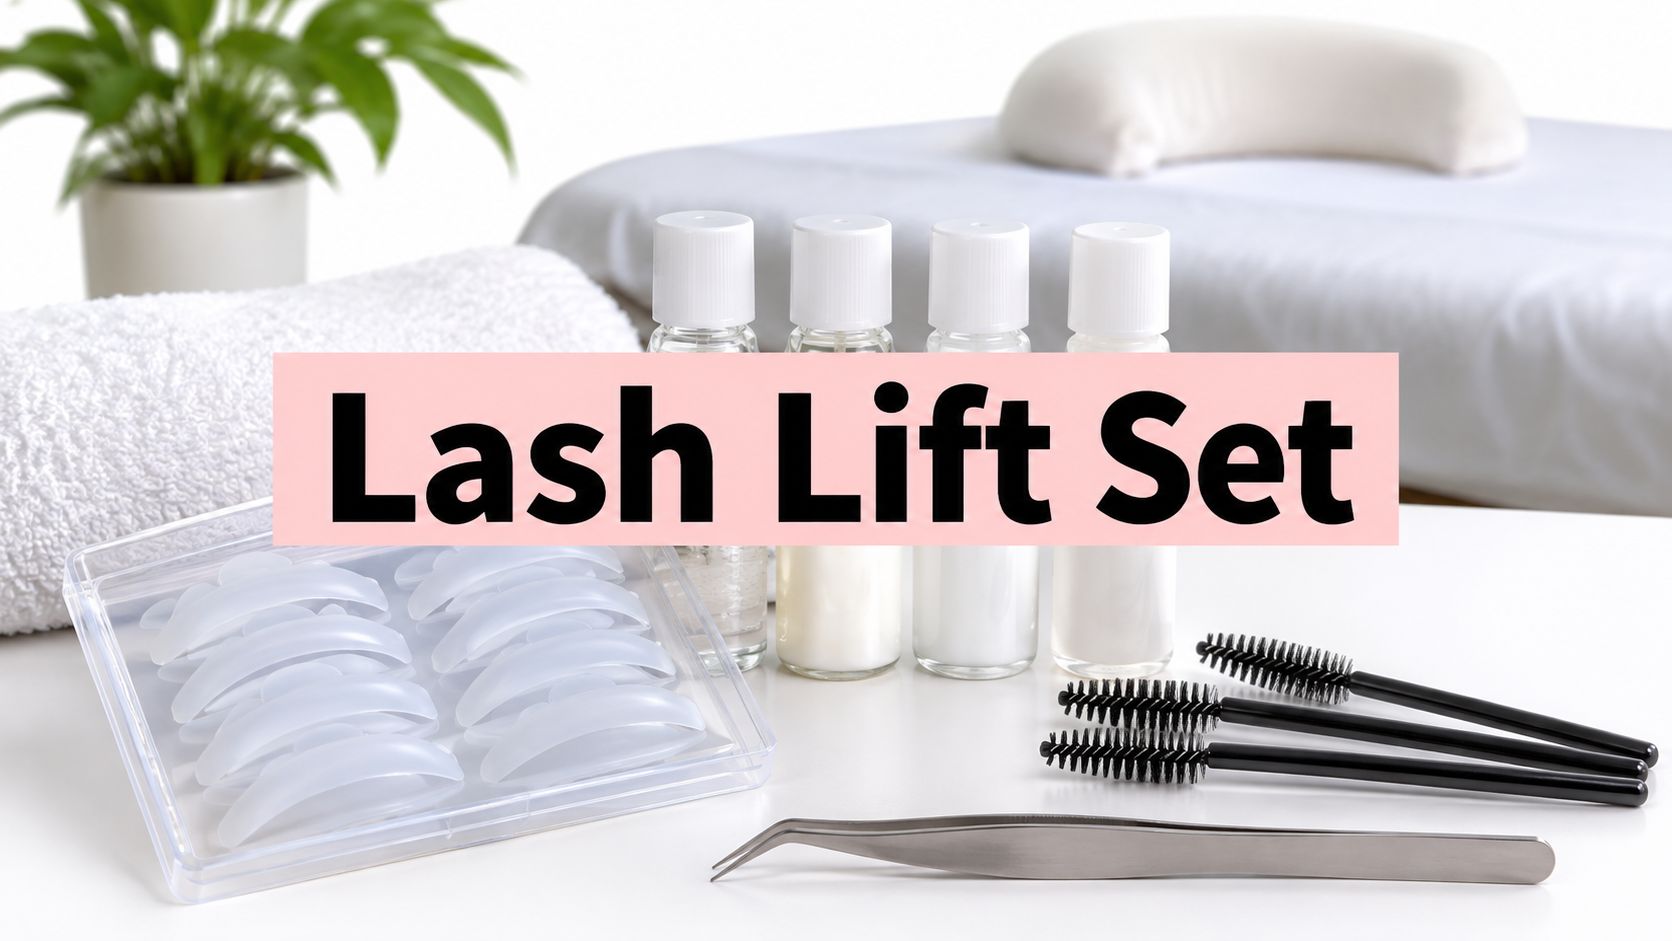
Would you apply a chemically active product beside your eye if you couldn't name its ingredients, importer, or expiry date? That's the question behind a lash lift set, not how dramatic the curl looks in a listing photo. Most kits explain shields and processing times in detail, then go quiet on verification. I would check the product before I checked the price, because a safe result depends as much on labels, isolation, and timing as it does on the lifting lotion itself.
At-Home Lash Lift Sets Versus Salon Treatments
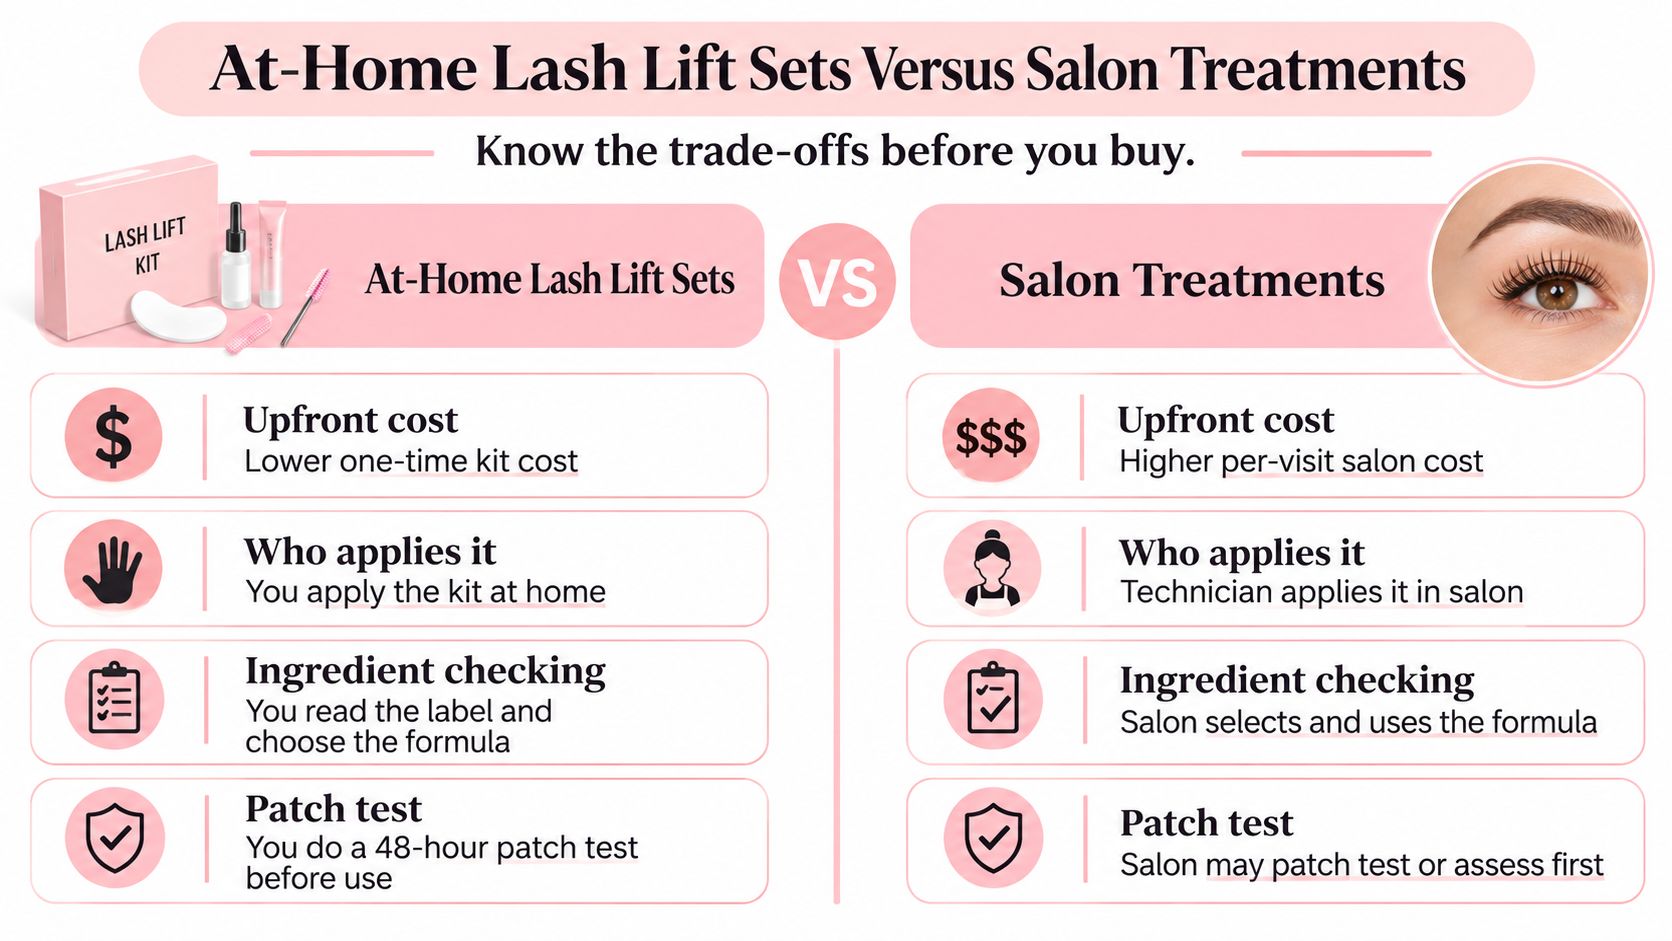
| Factor | At-home lash lift set | Salon lash lift |
|---|---|---|
| Upfront cost | Lower kit price, with repeat purchases needed | Higher per visit, and the service is included |
| Who applies it | You, with no professional oversight | A trained technician |
| Ingredient checks | You read the label and supplier details | Technician reviews the safety data sheet, batch and expiry records |
| Patch testing | Your responsibility, and often skipped | Done before treatment following the supplier's instructions |
| Eye protection | Improvised with pads and tape | Professional isolation and controlled product amounts |
| Time needed | Longer, especially the first time | Usually about one hour once booked |
| Best for | Experienced users with healthy lashes and verified products | First-timers, sensitive eyes, or anyone unsure about timing |
A kit wins on upfront cost and convenience. You can work at home, repeat the treatment when it fades, and avoid paying for application time. That saving only holds if you already know how to fit a shield, control product placement, and judge when lashes have processed enough.
Where the cheaper option stops being cheaper
The box price doesn't include your learning curve. Your first attempt is practised on your own lashes, usually with one eye harder to reach than the other. A wrong shield size, uneven wrapping, or extra minutes left on can mean a weak lift, crossed lashes, or frizz that has to grow out.
A salon visit costs more because you're buying controlled isolation, timing, and a second pair of hands. The technician works with both eyes closed and protected, keeps lotion away from the skin where possible, and can stop the process the moment something looks wrong. You also leave with aftercare advice matched to the product that was used.
Decision rule: If you've never had a lash treatment, have sensitive eyes or past eye irritation, or can't read the kit's full ingredient list, book a technician first.
Settle the choice with three questions. How much hands-on experience do you have? How reactive are your eyes and eyelid skin? Can you verify the exact product in your cart, including supplier, batch, and directions? If any answer worries you, the kit isn't the bargain it appears to be.
What Comes in a Lash Lift Set and What Each Part Does
A lash lift set isn't a box of accessories around one active product. Every lotion, adhesive, and tint sits beside the eye, so each item needs the same label check.
| Component | Job in the treatment | What to check |
|---|---|---|
| Lifting or reducing lotion | Loosens the lash bonds so the lash can be reshaped | Ingredient list, active agent, expiry date |
| Neutralising lotion | Reforms the bonds in the new curl | Peroxide strength and warnings |
| Silicone shield or rods | Holds the lash in its curl shape | Size range that matches your lash length |
| Adhesive | Fixes the shield to the lash base | Labelled for lash use only |
| Tint (optional) | Darkens the lashes | Labelled for lashes and patch tested; never hair dye |
| Aftercare serum | Conditions lashes after setting | Oil-free formula with a full ingredient list |
How the two lotions work
Think of the process like the two stages of a home hair perm, scaled down for much finer hair. The lifting lotion loosens the bonds that hold each lash in its natural shape. Once the lashes are wrapped over a shield, the neutraliser reforms those bonds so they hold the new curl.
That analogy explains the main risk. Hair on your head tolerates a timing error better than a short, fine lash positioned millimetres from your eyelid margin. I would skip any kit that's missing a neutraliser, because the first lotion alone doesn't finish the treatment.
Shields, adhesive, and tint
Shield size controls both lift and curl. A shield that's too small can crimp longer lashes at the tip, while one that's too large may barely lift shorter lashes from the root. A useful set includes several sizes and tells you how to match them to lash length, not just eye shape.
Adhesive should be made for securing lashes to a shield, not substituted with extension glue or craft adhesive. Tint is optional and belongs in the box only when it's specifically labelled for eyelashes and patch tested. Hair colour is not an acceptable stand-in.
Before opening anything, confirm you've got:
- Both treatment lotions: lifting lotion and neutraliser, sealed and in date.
- Several shield sizes: clean, flexible, and matched to your lash length.
- Lash adhesive and applicators: enough tools to separate lashes without dragging.
- Clear English directions: timings, warnings, removal steps, and aftercare.
- Aftercare serum: preferably oil-free for the first stage after treatment.
If the directions are vague, translated poorly, or missing for one stage, return the kit. You can't fill chemical timing gaps with guesswork.
How to Use a Lash Lift Set Step by Step
Exposure control matters as much as the curl. The WorkSafe Victoria guidance for hairdressing and beauty businesses identifies hydrogen peroxide and dye chemicals as capable of causing eye irritation and dermatitis, and advises SDS documentation, splash control, and protective equipment. At home, that translates to minimal product, precise placement, and stopping immediately if burning, swelling, or significant redness occurs.
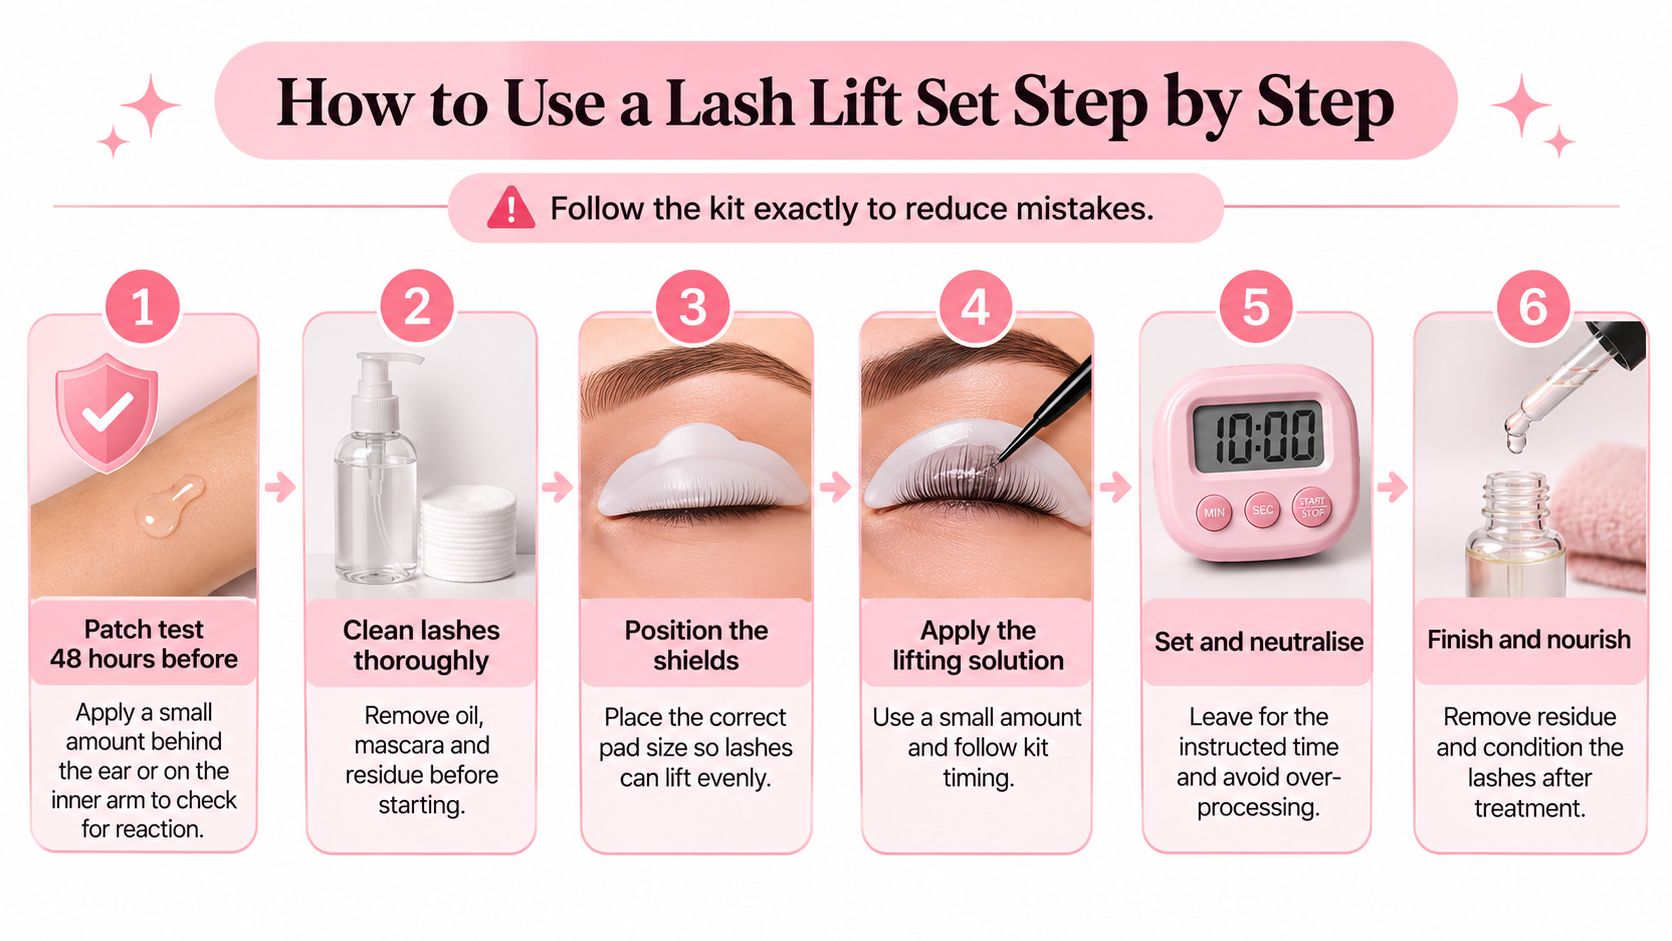
The procedure in order
- Patch test 48 hours before: Put a small amount behind your ear or inside your elbow as directed. Don't proceed if redness, itching, or swelling develops.
- Clean everything off: Remove eye makeup, contact lenses, and false lashes, then wash with an oil-free cleanser. Residue prevents even wrapping and can interfere with processing.
- Fit the shield: Place it close to the lash line without pushing adhesive onto the eyelid margin. A gap at the root gives a weak lift, but forcing the shield into the waterline creates discomfort.
- Isolate and wrap the lashes: Use pads to protect the lower lashes and skin, then lift upper lashes straight onto the shield. Crossed lashes at this stage set crossed, so separate them before any lotion goes on.
- Apply the lifting lotion sparingly: Keep it a controlled distance from the eyelid margin and prevent pooling. Follow the stated time exactly and don't add minutes because lashes still look flat under the lotion.
- Remove and blot: Take off every trace as directed and blot dry. Leftover lifting lotion can continue affecting the lash and contaminate the next stage.
- Apply the neutraliser: Use the same careful placement and the full stated time. Rushing this stage leaves the new shape poorly set.
- Release the shield gently: Soften adhesive rather than pulling lashes free. Add tint only if the kit includes a product labelled for lashes and you've patch tested it.
- Condition: Apply the aftercare serum and leave lashes alone while they dry and settle.
Thioglycolate or cysteamine lifting lotions and peroxide-containing neutralisers can irritate skin and eyes when they migrate through poor isolation, excess product, or under-eye protection removed too early. That's why step four deserves more time than most beginners give it.
A successful lift looks neat when dry, with lashes curled upward, separated, and holding their shape without mascara. Burning, swelling, or marked redness isn't a sign to wait it out. Remove the product, rinse with clean water, and seek advice if symptoms persist.
Ingredient Safety and Labels to Check Before You Buy
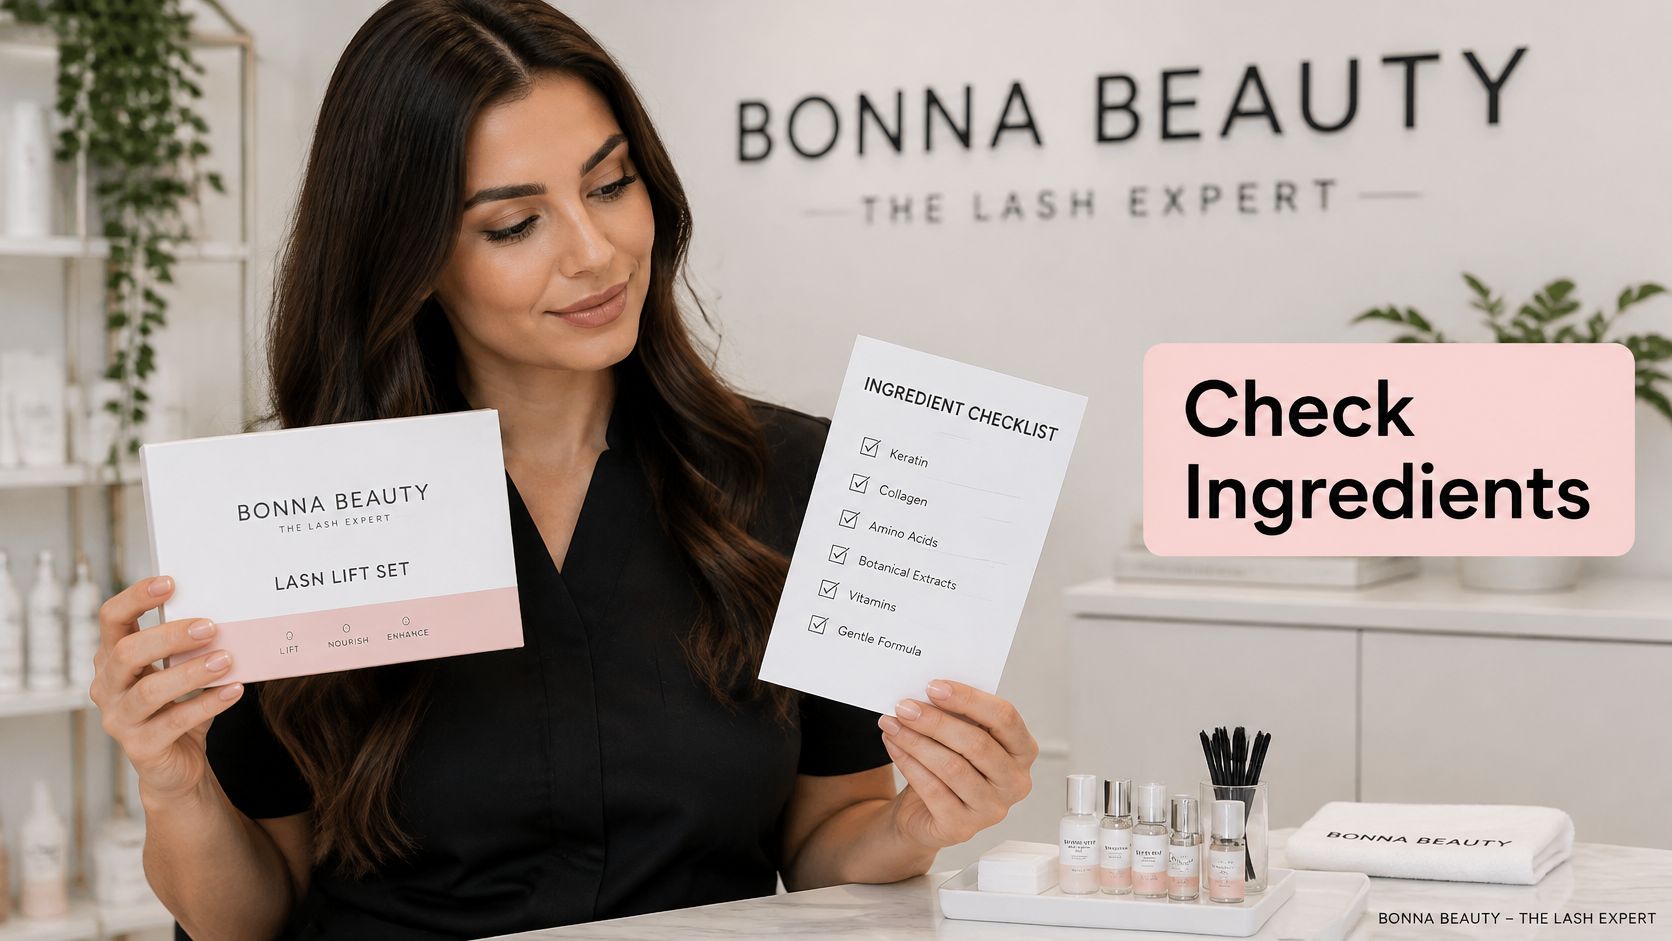
"Natural" and "hypoallergenic" are claims, not evidence. A botanical ingredient can still irritate your eyelid, and a gentle-sounding formula can still contain an allergen that matters to you. Judge a lash lift set by its complete ingredient declaration, not the front of the box.
What Australian rules actually tell you
Australian cosmetic ingredients are generally regulated as industrial chemicals through AICIS, while the ACCC covers product safety, ingredient labelling, and advertising claims. The TGA generally becomes relevant when a product makes therapeutic claims. There's no reason for a standard lash lift set to promise treatment of a medical condition.
The ACCC survey report on cosmetics designed to be applied to the eyes_0.pdf) states that for most cosmetics, the maximum permitted concentration of free formaldehyde is 0.05%, and products containing up to 0.2% may be supplied only when they carry the warning "CONTAINS FORMALDEHYDE". Cosmetic ingredients must also be declared on product labels. Meeting those controls doesn't remove risks from allergy, wrong timing, or product entering the eye.
Verify before you pay
- Full ingredient list in English: Every lotion, adhesive, tint, and serum should be identifiable.
- Supplier and importer identity: You should know who's responsible for bringing the product into Australia.
- Batch and expiry information: These details matter if a reaction or recall needs tracing.
- Warnings and directions: Look for patch-test instructions, processing times, and what to do after eye contact.
- Safety data sheet access: A legitimate supplier should provide an SDS on request.
- Intended use: Reject hair perm or hair dye products that don't explicitly permit eyelash use.
I would also reject decanted sachets, unlabelled bottles, and marketplace listings that photograph the front of a box but never show the ingredients panel. Patch testing still applies after every check passes.
For salon bookings, hygiene is part of label safety. NSW guidance distinguishes skin-penetration procedures under the Public Health Act 2010 and Public Health Regulation 2022 from other beauty work, while still expecting clean surfaces and equipment, clean linen for each client, and hand hygiene. If you're comparing studios in Yagoona, Bankstown, or Roselands, ask how tools are cleaned and how product batches are recorded before booking a lash lift and tint.
Choosing the Right Kit for Your Lashes
The right kit matches the lashes you've got today, not the result in an edited before and after photo. Weak lashes don't become suitable candidates because a formula calls itself gentle.
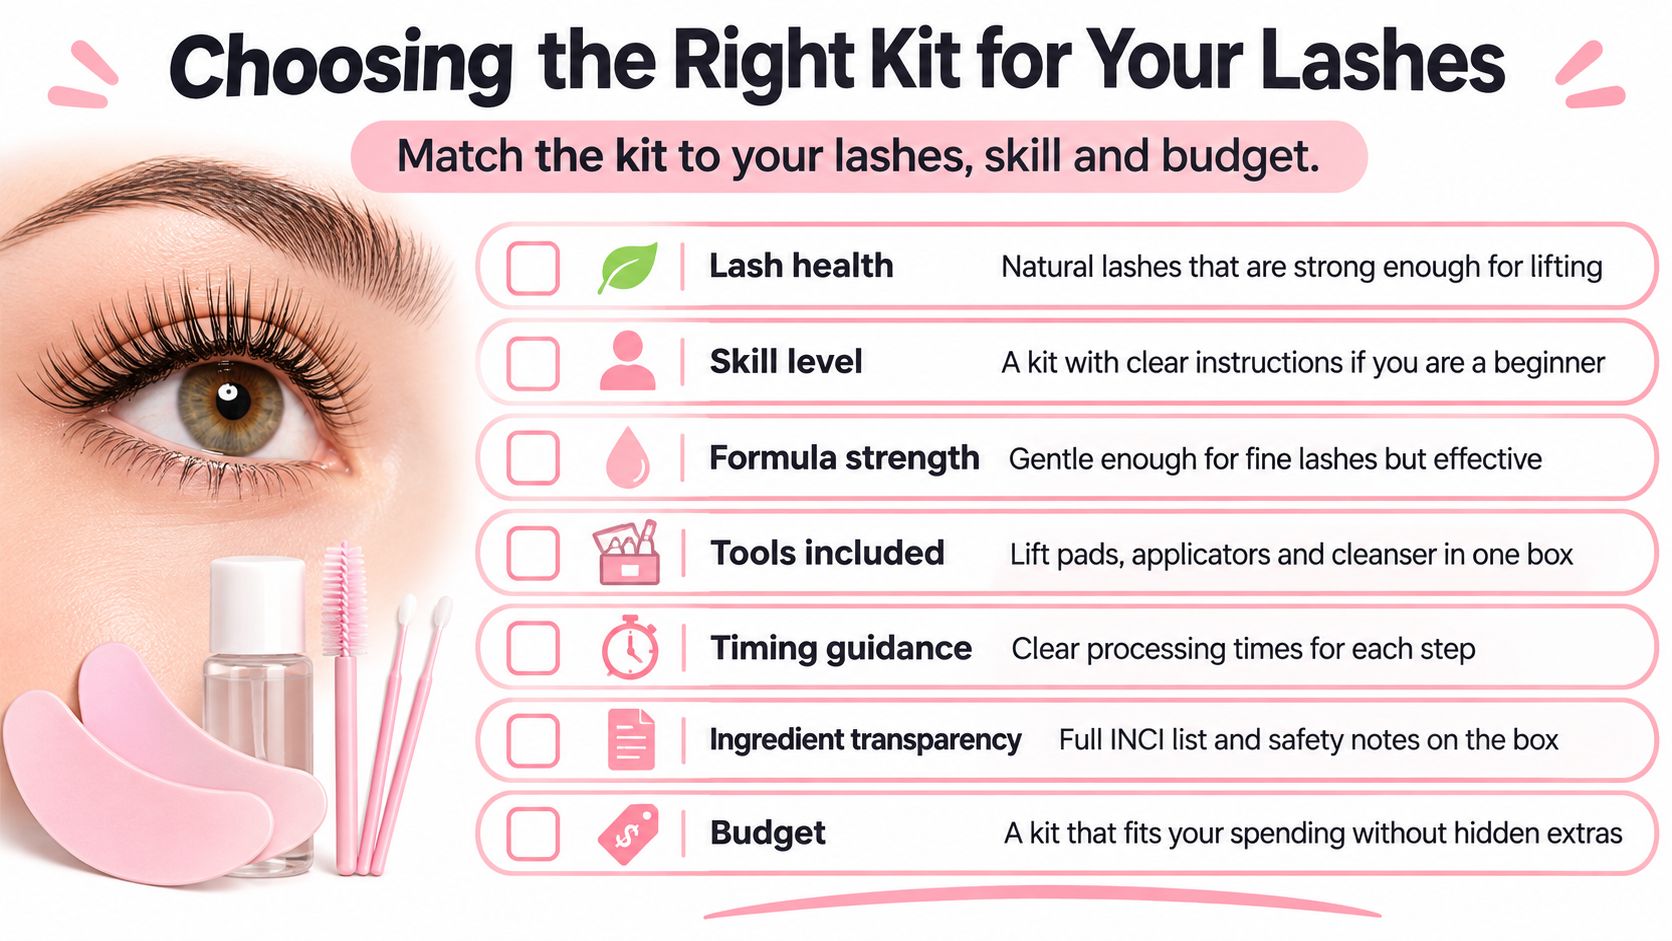
Seven checks before price
- Lash health: Thin, brittle, or recently treated lashes need recovery time, because repeating chemical treatment before enough regrowth raises breakage risk.
- Skill level: Beginners need stage-by-stage directions, not a QR code to a silent video.
- Formula strength: Fine lashes need conservative timings and a clearly stated active system.
- Shield range: Sizes must cover your actual lash length without folding the tips.
- Complete tools: Look for applicators, cleanser guidance, pads, adhesive, and enough product for a controlled application.
- Timing and warnings: Every stage should state minutes, removal method, and stop signs in English.
- Cost per treatment: Count usable applications before expiry, not the highest number printed on the box.
Importer details and batch numbers aren't bonus features. If they're absent, the kit fails before budget enters the conversation, even when it's discounted.
Say you're a first-timer with long, healthy lashes. A small verified set plus a salon consultation may teach you more than a large professional-style box, because a technician can assess your lash direction and sensitivity first. An experienced user with strong lashes and consistent results may save money with a full kit, provided each application can be used before the products expire.
Photograph the ingredient list, batch number, expiry date, and timings before first use. Packaging gets thrown out, but those details are exactly what you need if a reaction occurs.
Buy for traceability and fit first, then compare price among kits that pass. That order prevents a cheap set from setting the safety standard.
Aftercare Timeline After Your Lash Lift
Freshly lifted lashes need a quiet first day. Water, oil, heat, and rubbing can disturb the curl while the result is settling, so plan the appointment around exercise, swimming, and events.
| Time after treatment | What to avoid | Why it matters |
|---|---|---|
| 0 to 12 hours | Getting lashes wet, rubbing, or steam | Keeps the new curl setting |
| 12 to 24 hours | Eye makeup, waterproof mascara, swimming, harsh products, other facial treatments | Protects the lift while the bonds finish setting |
| After 24 hours | Sauna or steam allowed, but it can weaken the lift | Lift fades gradually over about 6 to 8 weeks |
Build the routine around the first day
Don't wet your lashes during the first 12 hours, and keep avoiding eye makeup and swimming for at least 24 hours. Waterproof mascara and harsh cleansers also wait, partly because removing them usually means rubbing.
Once lashes are dry and the initial window has passed, brush them gently with a clean spoolie. Use an oil-free cleanser around the eyes and pat rather than scrub. Our detailed lash lift aftercare guide sets out the day-by-day care if you want a reference to save.
After 24 hours, sauna or steam can be used, but repeated heat and moisture may soften the effect sooner. Treat that permission as occasional, not a reason to test the lift daily.
A lift doesn't fall out all at once. It softens as treated lashes shed and new, untreated lashes grow through, usually giving you about six to eight weeks before the shape needs refreshing. Book the next treatment only after enough regrowth and recovery, rather than layering chemicals onto the same fragile lashes.
When to Book a Technician Instead of Doing It Yourself
Booking a technician isn't an admission that you're bad at beauty treatments. It's the safer route when your eyes, medical history, or lash condition leave less room for error.
The Optometry Association of Australia guidance on eyelash extension risks noted in 2020 that no Australian regulations governed minimum operator training requirements at that time. Product access therefore doesn't guarantee equal skill between providers, so ask about training and product-specific experience. Eye-area lash procedures have been associated in that guidance with inflammation, allergic blepharitis, conjunctival injury, and keratoconjunctivitis.
Choose professional help if any of these apply
- Eye history: previous eye infection, allergy, or repeated irritation from cosmetics.
- Current symptoms: active blepharitis, conjunctivitis, styes, swelling, or broken eyelid skin.
- Recent procedures: recent ocular surgery or advice from an eye specialist to avoid eye-area treatments.
- Compromised lashes: thin, brittle, over-processed, or noticeably shedding lashes.
- Past reactions: sensitivity to lash adhesive, tint, hair colour, or perm products.
- First attempt with sensitive eyes: no experience judging normal tingling versus a reaction that needs removal.
A responsible provider screens for those issues before opening a lotion. They check the safety data sheet, batch, and expiry, record processing times, isolate lower lashes properly, and explain aftercare and referral steps. If something has already gone wrong, our guide to a lash lift gone wrong explains the next steps without encouraging a corrective chemical treatment at home.
Ask those screening questions at Bonna Beauty studios in Yagoona, Roselands, Revesby, and North Parramatta before you commit. See a GP or optometrist promptly for persistent burning, swelling, discharge, pain, light sensitivity, or any change in vision.
Book a Professional Lash Lift in Sydney Today
If you've got any risk factor above, book the consultation before buying a kit. Our lash lift is from $70, and first-time clients can get $10 off lash and brow services for a limited time with coupon code ONL10. The treatment lifts and tints your own lashes without extensions and requires no makeup, so mornings stay simple.
Choose the studio that fits your routine, whether that's a lash lift in Bankstown or Yagoona, a lash lift near Roselands and Canterbury, a lash lift in Revesby, or a lash lift in North Parramatta. These suburbs sit within large, well-defined Sydney catchments, so use the exact suburb when booking rather than searching vaguely near Sydney. Our Sydney lash lift and tint guide explains the combined service before you choose a time.
Bring details of any eye conditions or allergies, plus the ingredient panel from any kit you're considering. Ask about patch testing, the product being used, and the aftercare schedule, then book online through bonnabeautyspa.com. Independent technicians comparing premises can also find beauty workspace in Kensington through FindMy.beauty, which is useful context for how professional treatment spaces are presented. Start with the consultation, verify the product, and only then decide whether a home kit belongs in your routine.
Book a professional lash lift and tint in Yagoona, Roselands, Revesby, or North Parramatta and let a trained technician check your lashes, ingredients, and patch-test needs before treatment begins. Visit Bonna Beauty to choose your studio and secure an appointment from $70.