
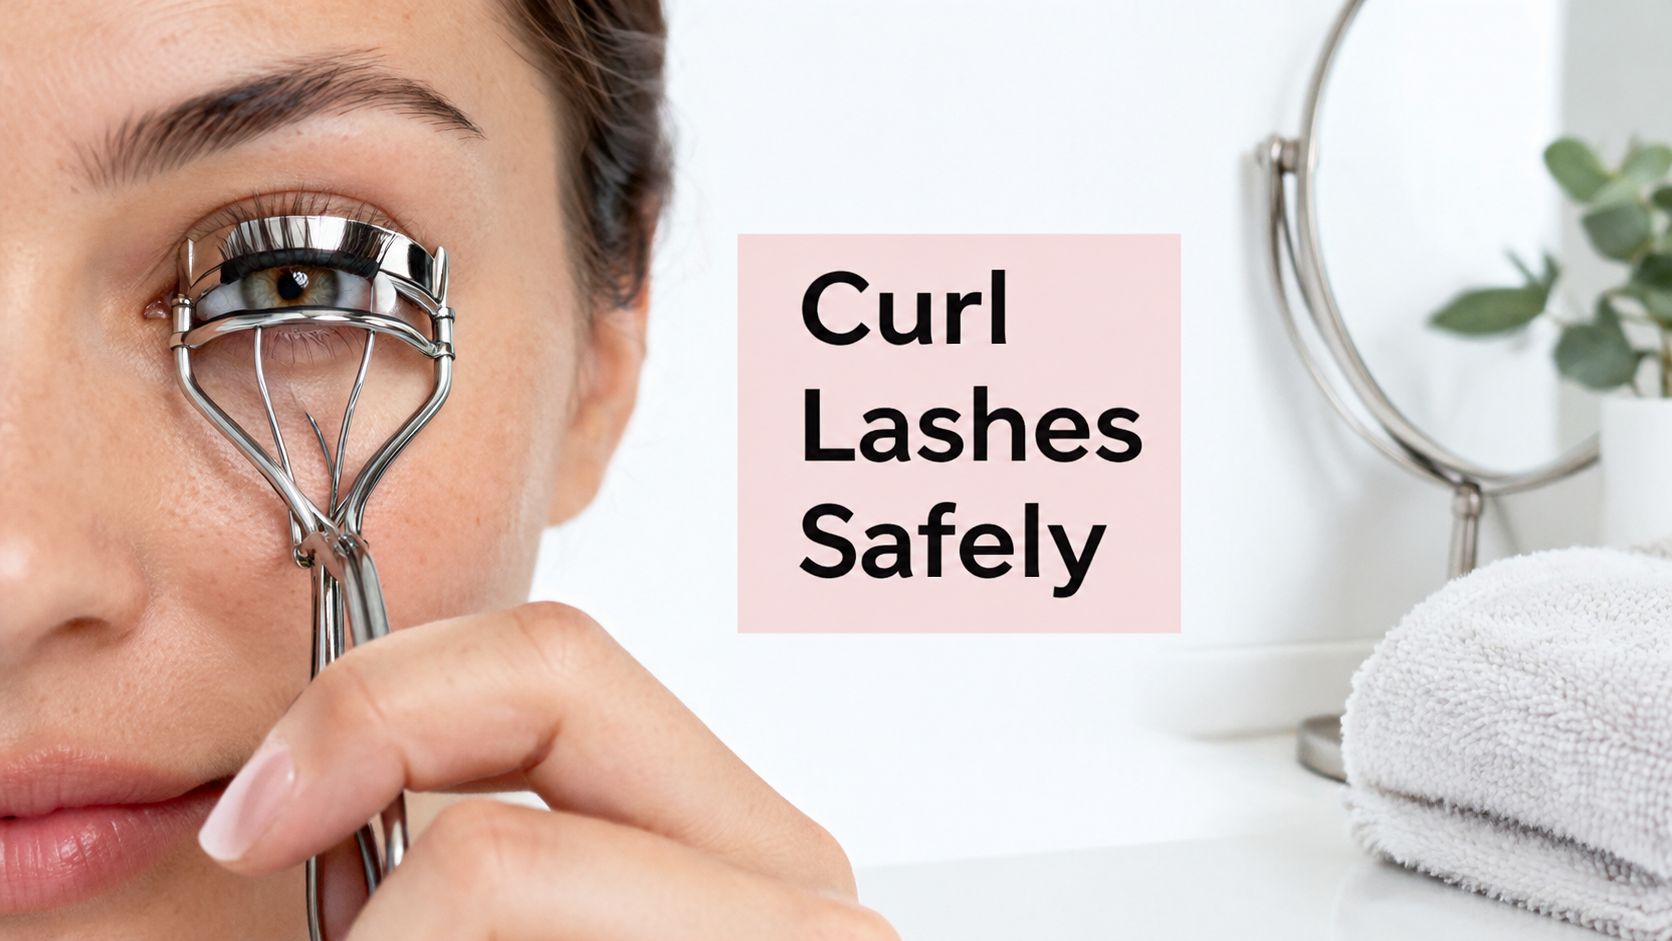
You're halfway through a busy morning, checking your calendar in the mirror while reaching for an eyelash curler. You want your eyes to look more open, but one rushed squeeze can pinch the lid, snap a lash, or leave you repeating the motion until the natural hairs feel weak. Learning how to curl eyelashes yourself safely is less about pressing harder and more about controlling placement, timing, cleanliness, and heat.
At-home curling can suit Australians who need a flexible routine before an early meeting, want to manage beauty spending, or prefer self-care at home. However, lash tools and adhesives still sit within a broader product-safety and hygiene context. Australian training guidance places eyelash-extension work within work-health-and-safety, hygiene, infection-control, consent, legislation, standards, and industry-code requirements, rather than treating lash services as casual cosmetic extras. You can read the Australian training overview from South West TAFE.
This guide takes you through the main curling methods, the clamp technique a senior lash technician would demonstrate at the basin, heated-tool precautions, aftercare, and the point where a professional lash lift at a Sydney studio may be the more sensible choice.
Why DIY Lash Curling Matters Right Now
You are already late, one eye half-finished, and the curler is close to the lid. A distracted squeeze can catch skin instead of lashes, leave a harsh angle, or make you pull away suddenly. A clamp curler looks simple, but safe results depend on clean tools, bare lashes, accurate placement, and light pressure.
For Australians balancing work, school runs, public transport, or appointments, curling at home can fit more easily than a salon visit. People travelling from Bankstown, Yagoona, Roselands, Canterbury, Revesby, North Parramatta, Mascot, or Marrickville may want a quick routine before leaving home. The convenience is useful only when the rubber pad is clean, the lashes are free of mascara, and the curler closes without forcing the bend.
Practical rule: A curler should shape the lashes, not force them into position.
The safety context behind the mirror
Anything used near the eye needs careful hygiene. Australian consumer safety discussions about lash curling associate contaminated tools and poor technique with red eyes, chemical burns, corneal ulcers, keratoconjunctivitis, clumping, pain, and styes. These problems are not inevitable, but they show why cleaning the tool and checking its position matter as much as the final appearance. The Australian lash-curling safety discussion explains these risks and offers practical technique guidance.
Product chemistry matters when a treatment involves cosmetic solutions or adhesives. Australia's national cosmetic limit for free formaldehyde is 0.2%. A federal enforcement review detected formaldehyde in 10 cosmetic products, with 2 exceeding the limit and being recalled, including an eyelash-extension glue, as summarised in Australian Beauty School's lash-lift information. A standard clamp curler does not contain formaldehyde, but the example supports reading labels, following patch-testing advice, and stopping immediately if irritation develops. A Sydney professional can also assess whether a lash lift is appropriate before chemicals or heat are used near the eyes.
The Main Ways to Curl Lashes at Home Compared
You are standing at the mirror with straight lashes, a clamp in one hand, and no clear idea which method suits your eyes. The choice matters because each option changes the lashes differently. Clamp and heated tools reshape them temporarily, while a professional lift chemically sets a curl that can remain visible for six to eight weeks, according to lash-lift aftercare guidance.
| Method | Curl Longevity | Daily Time | Lash-Health Risk | Best For |
|---|---|---|---|---|
| Classic clamp curler | Temporary, usually part of the daily routine | Short morning step | Pinching, breakage, and contaminated-pad risk | Straight lashes, visible lash lines, controlled manual styling |
| Heated wand curler | Temporary, usually part of the daily routine | Short morning step | Heat exposure, singeing, and periocular burns | Resistant lashes and users wanting a softer bend |
| Curved mascara wand | Temporary and dependent on product | Combined with mascara application | Pulling, clumping, and residue-related tugging | Light definition and users avoiding clamp pressure |
| Professional lash lift | Semi-permanent curl lasting six to eight weeks | Appointment rather than daily curling | Chemical sensitivity and treatment-related eye risks | Low-maintenance results, stubborn lashes, and people wanting less daily handling |
A classic clamp gives the most direct control. It suits straight or moderately thick lashes when you can see the lash line, though forceful or repeated squeezing can weaken the fibres. A heated wand creates a softer, gradual bend for lashes that resist a clamp, but heat introduces singeing and burn risks. A curved mascara wand avoids clamping pressure, yet its result depends on the formula and how firmly you brush.
The practical difference is similar to shaping ribbon with fingers versus setting its curve with a treatment. Home tools ask you to repeat the shape, while a lift changes the pattern for longer. That longer result comes with chemical sensitivity and treatment-related eye risks, so it is not just a stronger version of a curler.
Match the method to your eyes
Sensitive eyes, contact-lens wearers, hooded lids, or current irritation call for a conservative choice. Hooded lids can make a clamp harder to position because excess skin may hide the pad. Heated tools must stay away from the lid margin, and contact lenses should be removed before styling.
Australian safety discussions identify risks including keratoconjunctivitis, allergic blepharitis, conjunctival erosion, and traction alopecia. They also note that Australia does not have training requirements for lash-extension services. The Australian discussion of lash trends and safety provides useful context for deciding whether home styling is suitable or whether advice from a Sydney professional is the safer choice.
Step-by-Step Clamp Curler Technique
At the mirror, begin with a clean, dry face and completely bare lashes. Mascara can stiffen the fibres and make them grip the rubber pad, increasing the chance of breakage. Inspect the curler before it reaches your eye. The pad should have no cracks, hardened product, or loose edges. Clean the tool with a suitable cosmetic-tool cleaner, then let it dry fully.
Place the tool where it cannot catch skin
Warm the curler between your palms for a moment. The aim is to remove the cold feeling from the pad, not to heat the metal. Sit upright with your chin slightly raised, relax the eye, and look downward without stretching the eyelid.
Open the curler and approach the upper lashes from the front. Start at the mid-shaft, with the pad behind the lashes rather than pressed into the lid. The correct position feels like holding a small bundle of hairs, not pinching skin. If the curler cannot reach the lashes without catching the lid, stop, open it, and adjust your angle.
Close the handles slowly with light, even pressure. Hold for 10 to 15 seconds, following the Australian manual-curling safety guidance. You should feel firm contact, never pain, sharpness, or pulling. Release the handles completely before moving the tool.
For more lift, reposition the curler slightly nearer the tips and apply a gentle pulse for about three seconds. Keep the pressure lighter there. Increasing force at the base is more likely to crimp the lashes or stress the roots than to create a better curve.
Shape the outer corner separately
The outer lashes often need a small outward turn rather than a straight lift. Angle the curler gently along the eye's natural curve, then raise it outward without dragging sideways. Work in small sections if your eyes are narrow or hooded. Use less pressure at the inner corner, where shorter hairs can be difficult to see and catch.
Stop if you feel skin, sharp pain, or a tugging sensation. A safe position feels controlled, not trapped.
Check both eyes in natural light before applying makeup. Aim for a gradual curve, similar to bending ribbon around a rounded edge, rather than a harsh angle. If one side looks flatter, correct only that section. Repeating the whole process during the day adds mechanical stress and can weaken natural lashes.
If positioning remains difficult, or your lid becomes irritated, leave the eye bare and consider advice from a Sydney lash professional. A professional lash lift may be the safer choice when home control is limited.
Heated Curler Method Without Burning the Lids
Heated curlers need stricter controls than manual tools because the device adds energy near delicate skin. Choose a model with adjustable temperature and a silicone or comb-style barrel. Fully charge it, inspect the barrel for residue, and use the lowest setting available.
Some heated curlers are described in the 60°C to 85°C range, while eye-health guidance gives a burn-threshold context of 118°F, or 48°C, for a first-degree burn, and 131°F, or 55°C, for a second-degree burn. Those figures come from American Academy of Ophthalmology eye-makeup safety guidance. The comparison is a warning, not a target. A device marketed for lashes must be controlled carefully, kept off the skin, and used with short contact.
Use the lowest controlled heat
Test the barrel on the inner wrist before it approaches the eye. It should feel warm, never hot or sharp. Remove contact lenses, cleanse away mascara and oil, and keep the device vertical so the heated surface contacts the lash fibres rather than the lid margin.
Place the comb or silicone surface at the mid-shaft, not directly against the skin. Lift gently for a short pass, then allow the lashes to cool before deciding whether they need another pass. Don't hold the tool against one section repeatedly, and don't pull hard to compensate for an uneven curl.
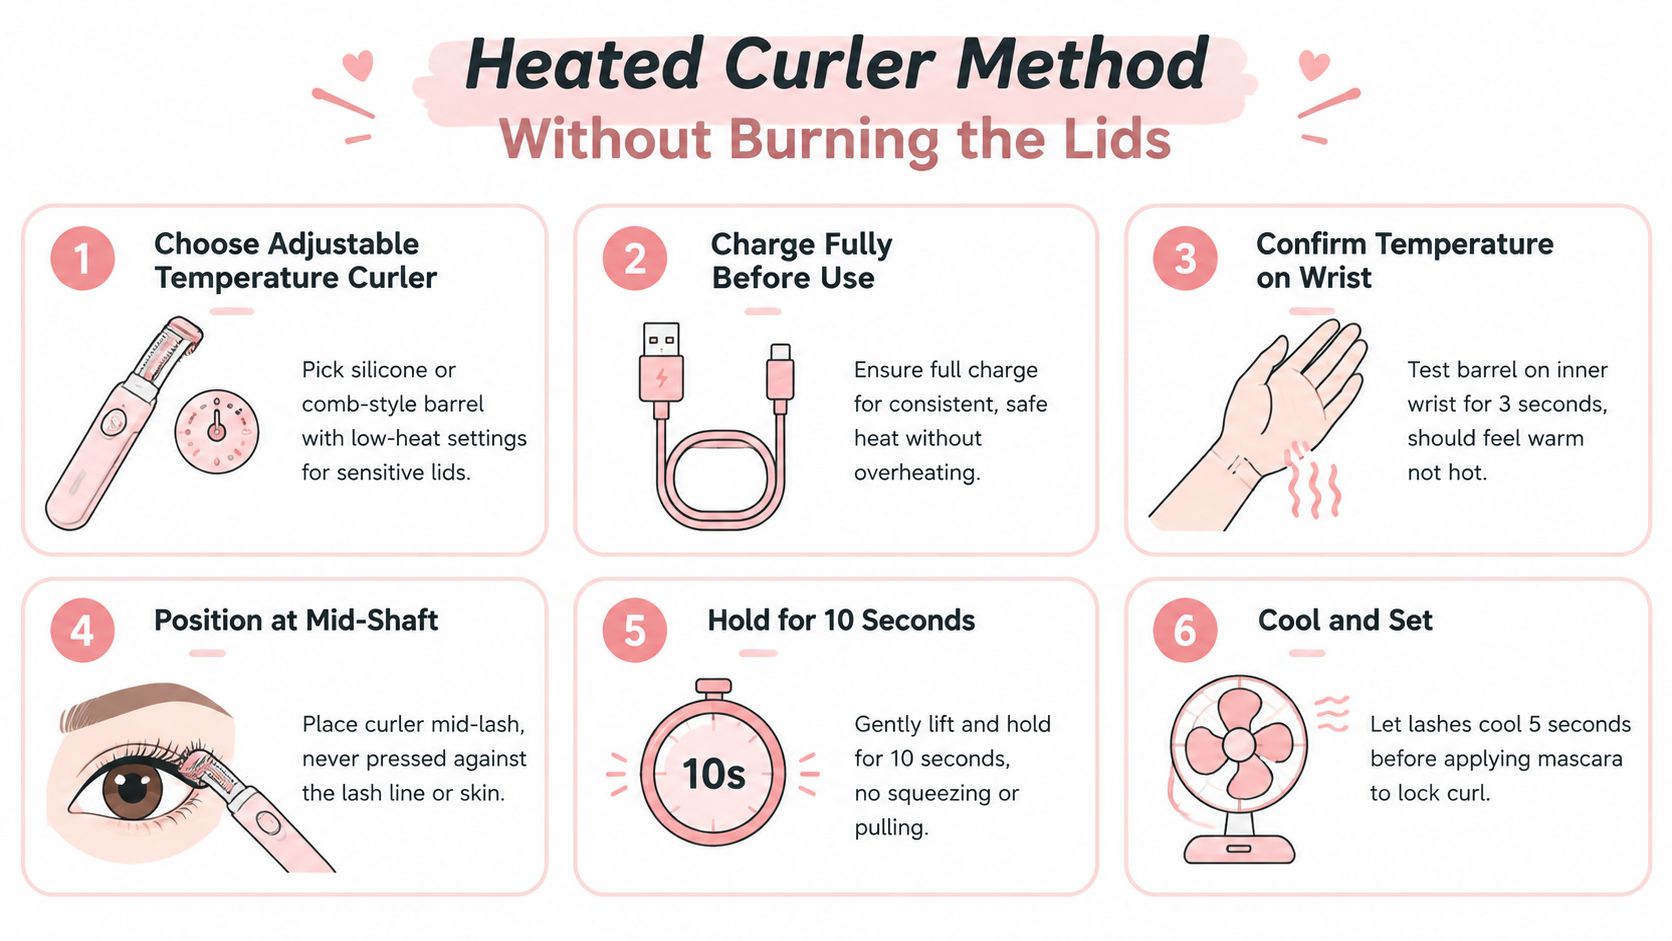
Stop immediately if you feel sharp heat, notice redness, smell smoke, or see a lash singe. Clean residue from the barrel only after the device has cooled and follow the manufacturer's cleaning instructions. Don't share the tool unless it has been properly sanitised.
Common Mistakes That Damage Natural Lashes
The most damaging habits usually look efficient. Pressing at the root seems like a way to create more lift, and curling after mascara seems like a way to finish faster. In practice, both choices increase sticking and pressure where the lashes are least able to tolerate it.
Pinching the root can catch eyelid skin and place force close to the follicle. Curling over mascara can make the coated fibres adhere to the pad, then shear as the curler opens. Frantic squeezing bends the lash at an unnatural angle instead of creating a smooth curve.
Match the mistake to the fix
| Common Mistake | What Actually Happens | Quick Fix |
|---|---|---|
| Pinching the root | The pad catches skin and creates painful pressure near the lash base | Start at mid-shaft and check the mirror angle before closing |
| Curling after mascara | The mascara-coated lash can stick to the pad and snap during release | Curl clean, dry lashes, then apply mascara |
| Using force | Excess pressure can break the fibre and make the curl look sharply bent | Hold steadily with light pressure instead of pumping |
| Skipping a patch test | Sensitive users may react to materials such as nickel in a frame or latex in a pad | Check materials where available and test cautiously away from the eye |
| Reusing soiled pads | Residue and microbes can transfer around the eye and contribute to irritation or styes | Clean the pad after use and replace it when damaged |
Don't confuse a dramatic bend with a healthy curl
A healthy-looking curl rises progressively from the base through the tips. A flat crease in the middle often means the tool was closed too hard or held in the wrong place. If you see sparse areas, ongoing irritation, or unusual shedding, pause the routine instead of trying to correct the appearance with more pressure.
For related guidance about why DIY lash services can create avoidable risks, see Bonna Beauty's article about DIY home eyelash extensions. The same principle applies here: an eye-area routine deserves clean tools, controlled handling, and a clear stop point.
Aftercare That Keeps the Curl Holding
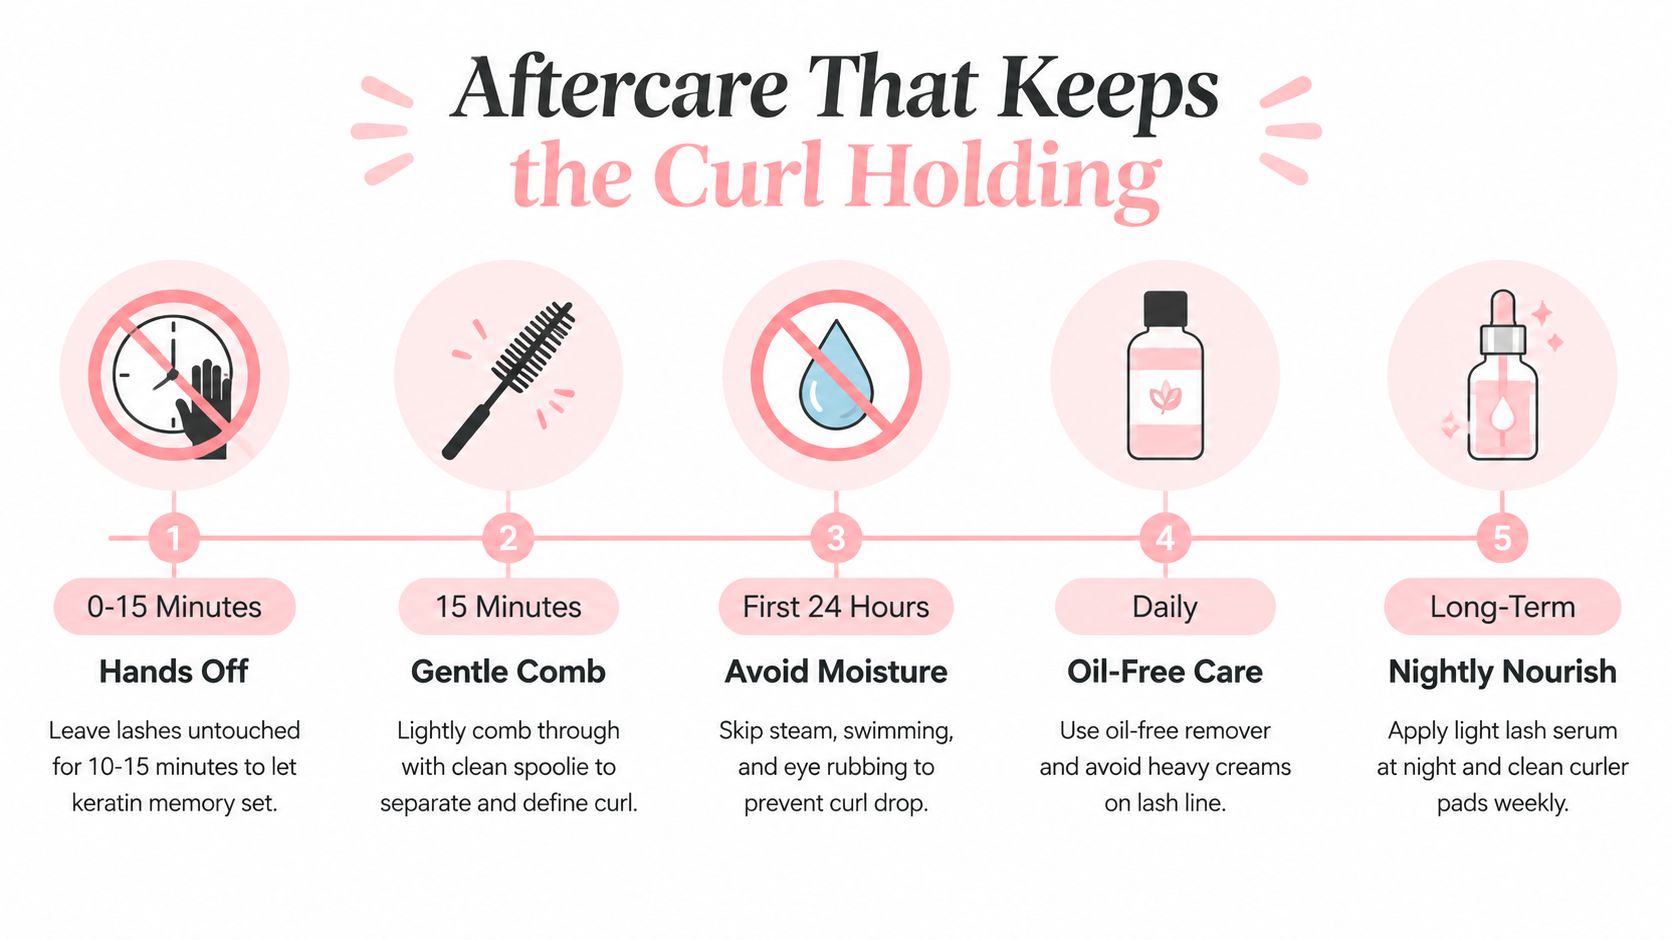
A fresh curl needs a calm finish. Leave the lashes untouched for 10 to 15 minutes after styling, then use a clean spoolie to separate them with a light upward pass. Don't comb aggressively from root to tip, especially if the lashes have already been curled.
For evening cleansing, choose a water-based, oil-free eye-makeup remover. Oil and heavy petroleum-based products can soften the styling effect and leave residue that encourages rubbing. Hold the damp cotton pad against the closed eye, let the product loosen makeup, and wipe gently in the direction of lash growth.
Protect the shape while you sleep
Back-sleeping reduces compression compared with pressing the lashes into a pillow. A silk or satin pillowcase may reduce friction, but it won't make rough handling safe. If you sleep on your side, keep the face from being pushed directly into the pillow and avoid rubbing when you wake.
A dry spoolie pass at night can realign lashes and remove light debris. Use a lash-friendly conditioning serum only if its ingredients suit your eyes, and apply it sparingly at the root. Stop if you develop redness, itching, sparse regrowth, swelling, or signs of follicle inflammation. Those symptoms call for a break and professional advice, not a stronger curler.
A professional lash lift has different aftercare requirements from a manual curl. Follow the advice given by the treating stylist, particularly about moisture, heat, rubbing, and oil-based products. This lash-lift aftercare guide from Bonna Beauty provides treatment-specific care information rather than assuming a daily curler routine applies to every service.
When to Skip DIY and Book a Professional Lash Lift
If the curl drops before you leave home, or one eye needs several extra squeezes to match the other, DIY may no longer be the sensible option. Downward-pointing, very straight, fine, or resistant lashes can require repeated pressure. That handling may be a poor trade for lash integrity, especially when the result remains uneven.
Pause home curling if you already have lash loss, eye irritation, contact-lens sensitivity, extensions, dermatitis, or a recent eye procedure. A curler should sit on healthy, comfortable lashes. It should not be used to work around an active eye problem.
A professional lash lift replaces daily reshaping with a scheduled treatment. The result is set with professional products rather than recreated each morning, so the amount of repeated squeezing can be reduced when the service and aftercare suit your eyes. Treatment-specific care still matters. Moisture, heat, rubbing, and product use should follow the treating stylist's instructions, consistent with professional lash-lift aftercare information.
| Factor | DIY Curling | Professional Lash Lift |
|---|---|---|
| Application | Repeated at home | Performed during a salon appointment |
| Result | Temporary shape | Chemically set lifted curl |
| Daily handling | Usually required for a consistent look | Reduced between appointments |
| Sensitivity considerations | Pressure, heat, tool hygiene, and product materials | Chemical exposure, patch testing, consultation, and aftercare |
| Suitable decision | You enjoy a short routine and have healthy, cooperative lashes | Your lashes resist curling or daily handling is causing damage |
In Australia, a professional appointment also gives you a clearer safety checkpoint. A technician can discuss sensitivity, existing extensions, natural lash condition, product information, and aftercare before treatment. Ask how the studio handles consultation, hygiene, patch testing, and WHS-related chemical precautions. Those questions help you decide whether the service fits your eyes rather than treating a salon appointment as an automatic solution.
Bonna Beauty offers lash lifting and tinting in Sydney, including studios in Mascot and Marrickville. Its wider Sydney network includes home-based style salons around Yagoona in Bankstown, Roselands and Canterbury, Revesby, and North Parramatta. Check the location and consultation process before booking. For a Sydney-focused explanation of the service, read this lash lift and tint guide.
Quick Recap and Local Next Steps
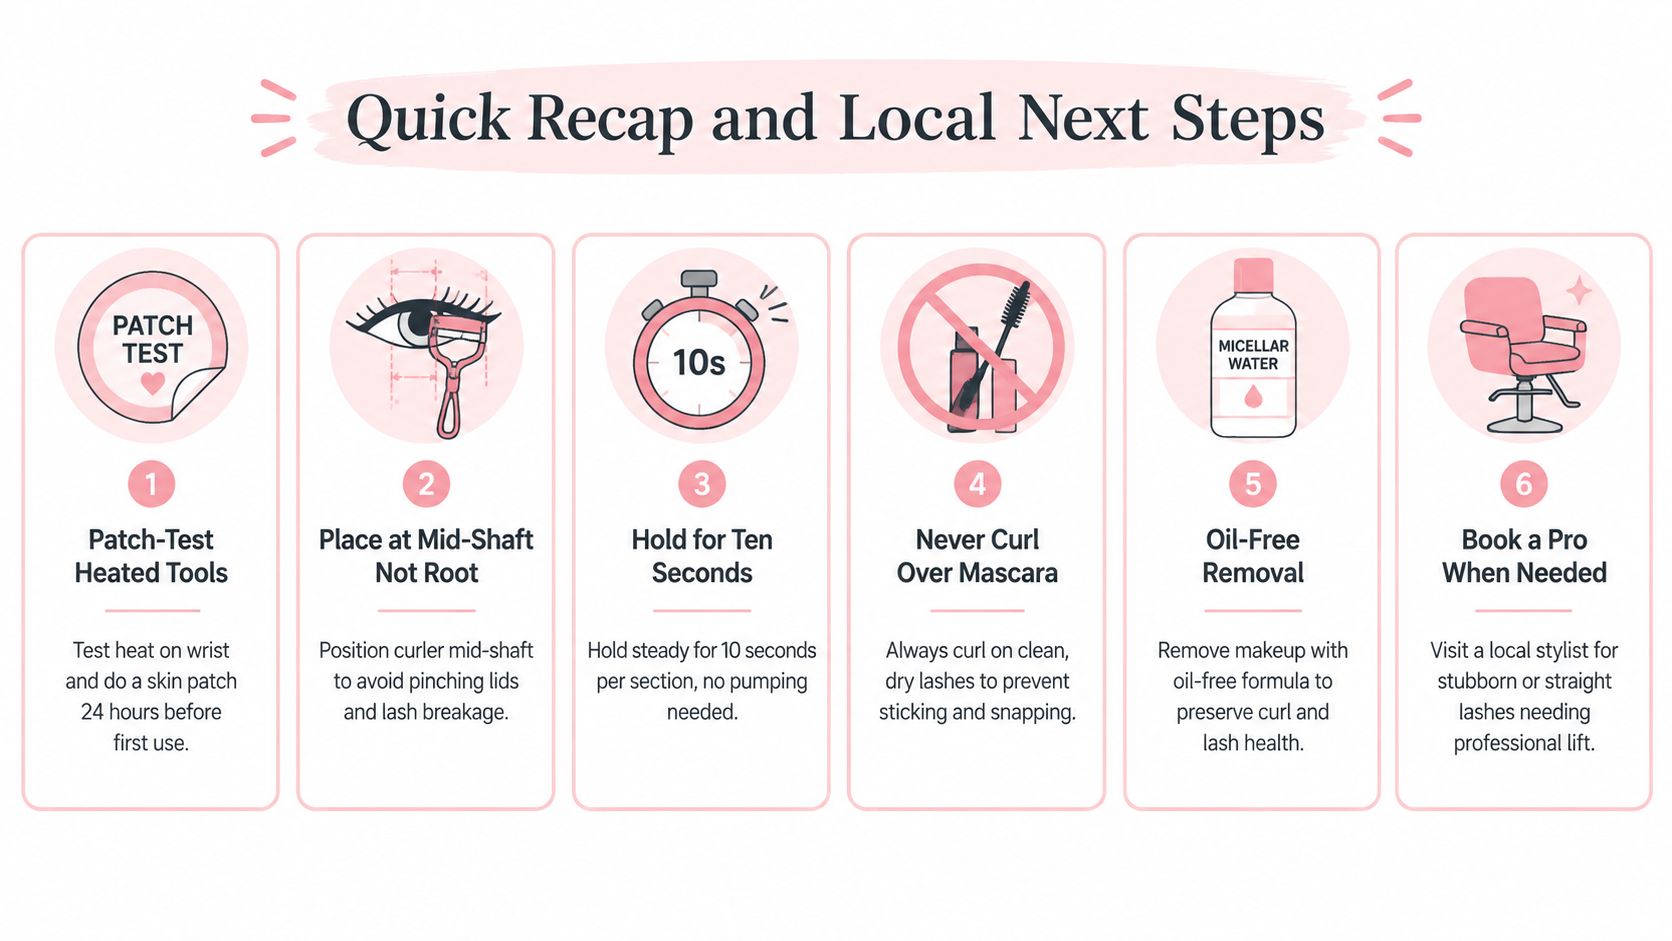
A safe home routine is deliberately uneventful. The tool should never hurt, the lash should never stick to the pad, and you shouldn't need repeated attempts to create a smooth curve.
Keep these six points beside your mirror:
- Patch-test heated tools: Test the device on your wrist and follow material guidance before first use.
- Place at mid-shaft, not the root: Keep the pad away from the lid margin and skin.
- Hold for ten seconds: Use steady, light pressure rather than pumping or crushing.
- Never curl over mascara: Style clean, dry lashes before applying makeup.
- Use oil-free removal: Clean the eye area gently at night without heavy oil-based residue.
- Brush through daily: Use a clean spoolie and stop if redness, itching, or lash loss appears.
If you're in Sydney and your lashes are straight, downward-facing, fragile, or difficult to curl evenly, consider a consultation at the Mascot or Marrickville studio rather than increasing pressure at home. A professional lash lift and tint can combine an upward shape with added definition, while the right technician can discuss sensitivity, existing extensions, natural lash condition, and aftercare before treatment.
Bonna Beauty provides lash lifts, lash tints, eyelash extensions, and aftercare guidance across its Sydney studios, including Mascot and Marrickville. If daily curling is becoming uncomfortable or time-consuming, visit Bonna Beauty to compare locations and book a service that suits your natural lashes.